Creating Stunning Text Effects in Photoshop: A Step-by-Step Guide
Photoshop is known for its powerful tools and capabilities when it comes to text effects. Whether you’re designing a poster, a logo, or social media graphics, creating standout text can elevate your design and make it more visually striking. In this step-by-step guide, we’ll show you how to create stunning text effects in Photoshop that will wow your audience.
From bold, attention-grabbing text to smooth, professional effects, you’ll learn how to make your text stand out using a few simple techniques.
Step 1: Set Up Your Document
What You’ll Need:
- Photoshop
- A new document with a canvas size that suits your project
- Open Photoshop and go to File > New to create a new document.
- Set the size of the document according to your project’s needs (for example, 1080px by 1080px for social media).
- Set the Resolution to 300 pixels/inch for high quality (ideal for print) or 72 pixels/inch for web use.
- Choose a Background Color or make it transparent depending on your project.
Step 2: Add Your Text
What You’ll Need:
- The Text Tool (T)

- Select the Text Tool (or press T) from the toolbar.
- Click anywhere on the canvas and type the text you want to work with. This could be your project title, quote, or whatever suits your design.
- Highlight the text and use the top options bar to adjust the font, size, weight, and color to suit your style.
- Once you’re happy with the text appearance, press Ctrl + Enter (Windows) or Cmd + Enter (Mac) to confirm the text.
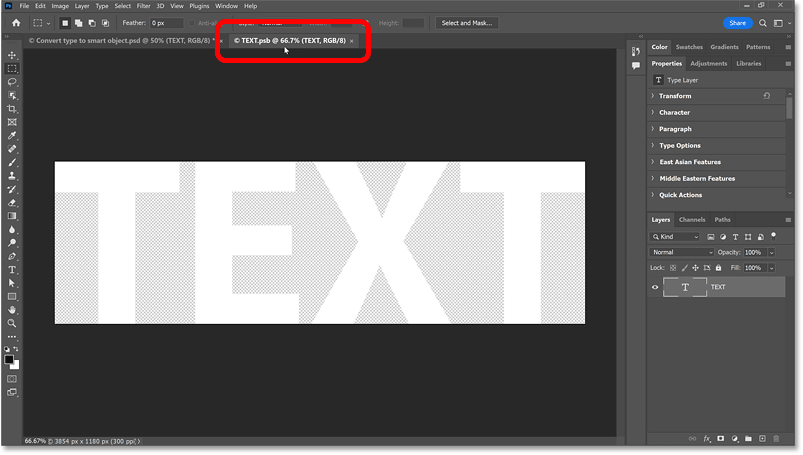
Step 3: Convert Text to a Smart Object (Optional)
What You’ll Need:
- Right-click on the text layer
To give you more flexibility later on in the editing process, it’s a good idea to convert your text layer into a Smart Object.
- In the Layers Panel, right-click on your text layer and select Convert to Smart Object.
- This way, you can apply non-destructive transformations or filters to the text later and still make changes to it.
Step 4: Add Layer Styles for Basic Effects
What You’ll Need:
- Layer Styles (Outer Glow, Drop Shadow, etc.)
Layer styles are a quick way to create impressive text effects without needing to work with individual pixels. Let’s add a couple of stylish effects to your text:
- Right-click on your text layer in the Layers Panel and select Blending Options.
- In the Layer Style dialog box, experiment with the following effects:
- Drop Shadow: Adds depth and makes your text stand out. Adjust the angle, distance, and spread to create the perfect shadow for your design.
- Outer Glow: Adds a soft, glowing effect around the text. You can choose a color and adjust the size and spread of the glow.
- Bevel & Emboss: Gives your text a 3D, raised look. You can play with the depth, size, and shading to add more dimension to your text.
- Click OK when you’re happy with the results.
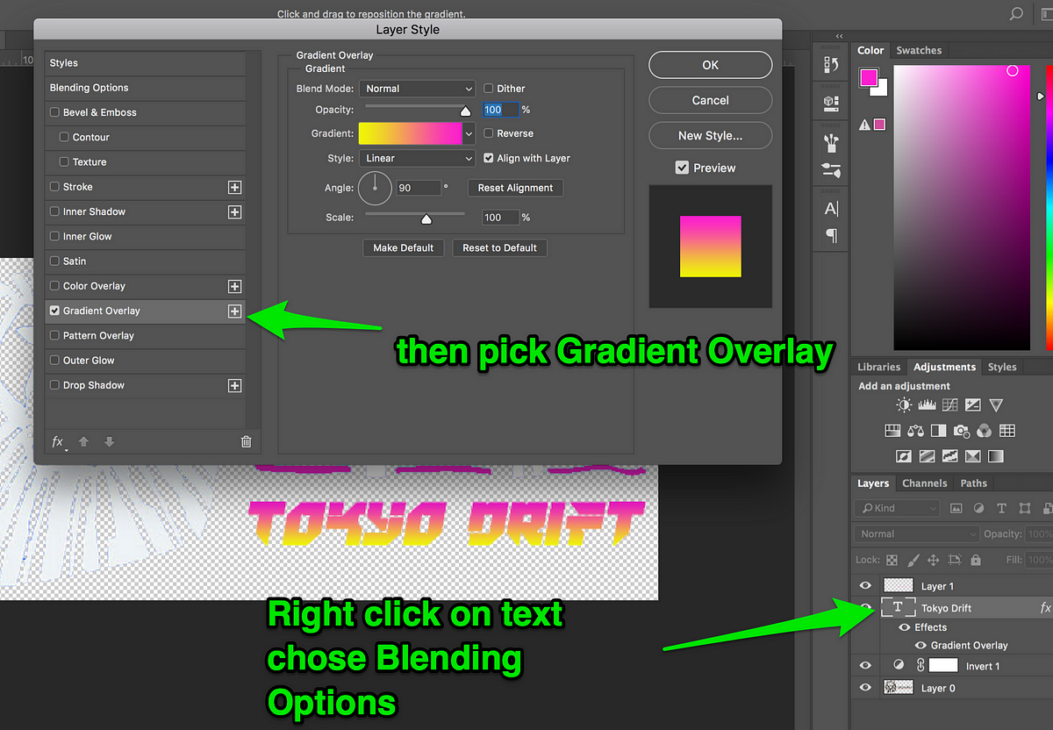
Step 5: Create a Gradient Text Effect
What You’ll Need:
- Gradient Overlay layer style
Gradient text is a popular effect that gives your text a smooth, colorful transition. Follow these steps to apply it:
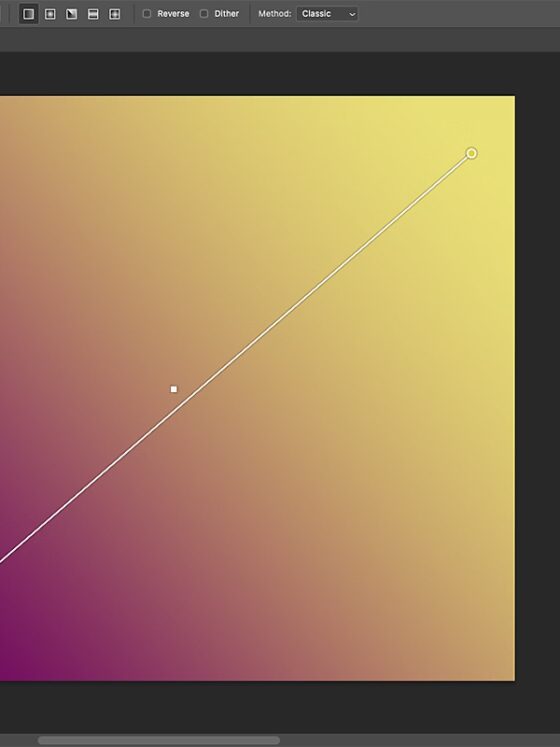
- Double-click on your text layer to open the Layer Style dialog box again.
- Select Gradient Overlay from the list of layer styles on the left.
- Click on the gradient bar to open the Gradient Editor. You can either select a preset gradient or create a custom one by adding colors.
- Adjust the angle to change the direction of the gradient and the opacity to control how the colors blend.
- Once satisfied with the gradient effect, click OK to apply it.
Step 6: Add Text Texture Using Patterns
What You’ll Need:
- Pattern Overlay layer style
Want to add some texture or a cool pattern to your text? The Pattern Overlay is perfect for this.
- Open the Layer Style dialog box again and choose Pattern Overlay.
- Click on the pattern thumbnail to open the Pattern Picker.
- Choose a pattern from the list or click the gear icon to load custom patterns.
- Adjust the scale to control the size of the pattern and blend mode to experiment with different effects.
- Once you’re happy with the result, hit OK to apply it.
Step 7: Add a 3D Effect with the “Extrude” Filter (Optional)
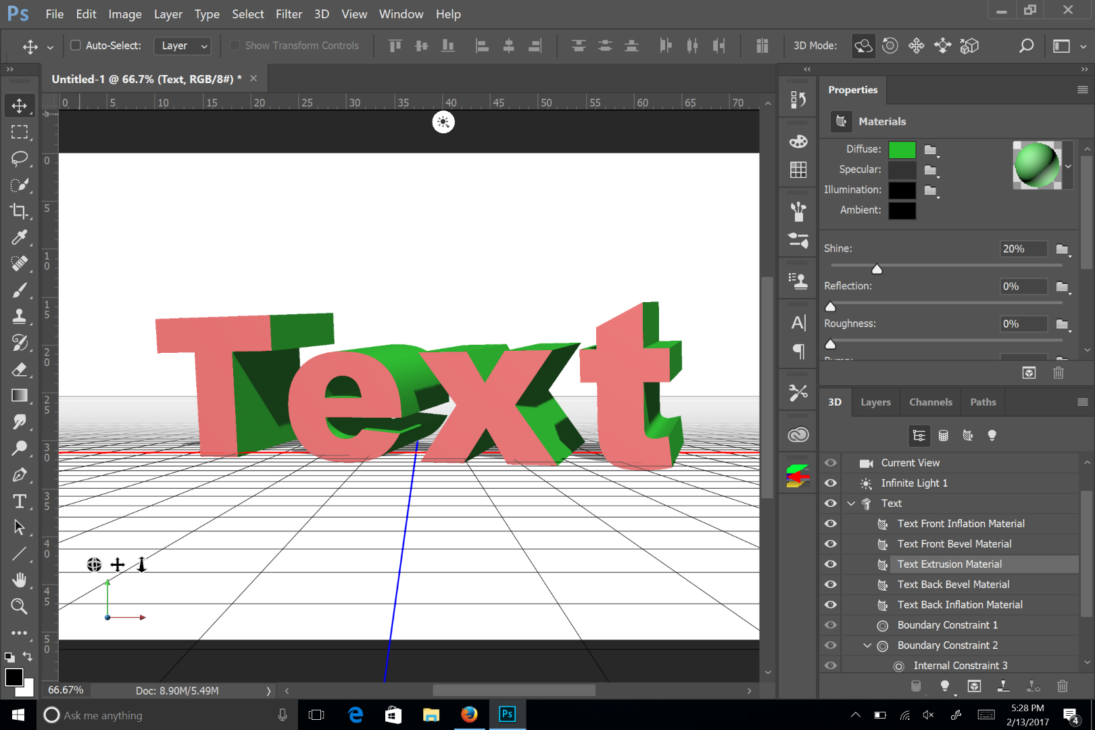
What You’ll Need:
- 3D Extrusion effects for bold text
If you want to take your text effects to the next level, you can give it a 3D look. Here’s how to use Photoshop’s 3D Extrusion to make the text pop:
- Right-click on your text layer and select Convert to Shape.
- With the shape selected, go to 3D > New 3D Extrusion from Selected Path.
- In the 3D workspace, you can adjust the depth, lighting, and shadows to create a realistic 3D effect.
- Once you’re happy with the look, click on the Render button in the top menu to finalize the 3D effect.
Note: The 3D feature might be limited depending on your Photoshop version.
Step 8: Final Adjustments
What You’ll Need:
- Adjustment Layers for fine-tuning
After applying the main effects, you can fine-tune your text by adjusting colors, contrast, or brightness. This step will ensure your text blends well with the rest of your design.
- Use Adjustment Layers (like Hue/Saturation, Levels, or Curves) to modify the overall appearance of the text layer.
- To add an adjustment layer, go to Layer > New Adjustment Layer and choose your preferred option.
Step 9: Export Your Design
What You’ll Need:
- Export options based on your intended use
Once you’ve finished adding the text effect and making any final adjustments, it’s time to export your design.
- Go to File > Export > Export As.
- Choose the desired file format, such as JPEG for web or PNG for transparent backgrounds.
- Adjust the resolution and size if necessary, then click Export to save your design.
Conclusion
Creating stunning text effects in Photoshop is a fun and rewarding process. By using the tools and techniques outlined in this guide, you can easily transform simple text into professional-looking designs. Whether you’re aiming for a glowing neon effect, a 3D appearance, or something more subtle like gradient fills, Photoshop has the tools you need to bring your ideas to life.
Now, it’s your turn to experiment! Play around with different fonts, colors, layer styles, and effects to create unique and eye-catching text that enhances your projects.