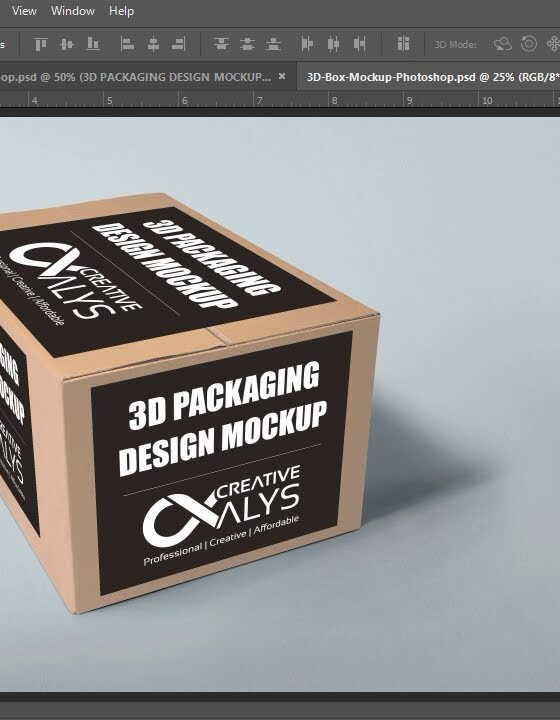
From Photoshop to Print: How to Prep Your Designs for Professional Printing
Designing in Photoshop is only half the journey — getting those visuals to look just as stunning in print is a whole different game. Whether you’re creating posters, business cards, or product packaging, preparing your files properly ensures crisp results, accurate colors, and zero surprises at the print shop.
Here’s a step-by-step guide to help you take your Photoshop designs from screen to print, the right way.
1. Start With the Right Document Settings
Before you touch a single pixel, make sure your Photoshop document is optimized for print.
Set Up:
- Color Mode: CMYK (instead of RGB)
- Resolution: 300 DPI (dots per inch)
- Bleed: Add a 0.125″ (3mm) bleed area on all sides
- Size: Match the final print size exactly (e.g., 5×7″, A4, etc.)

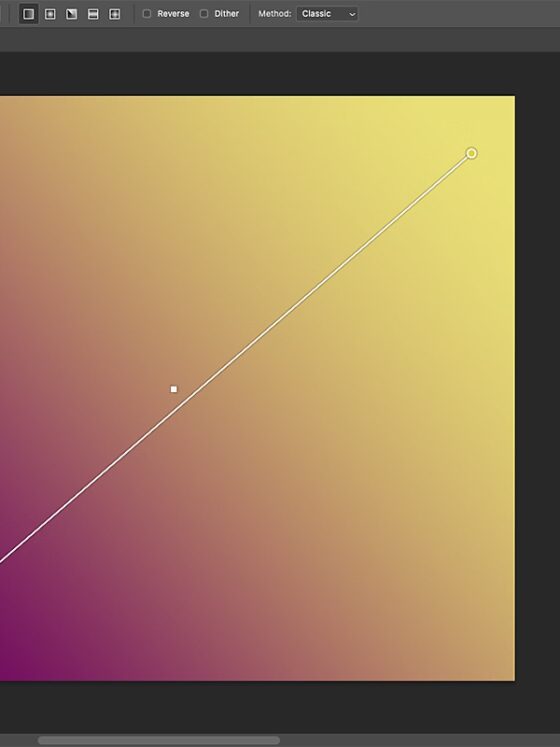
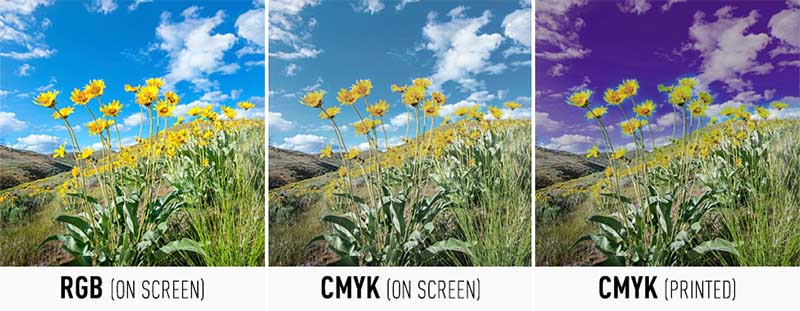
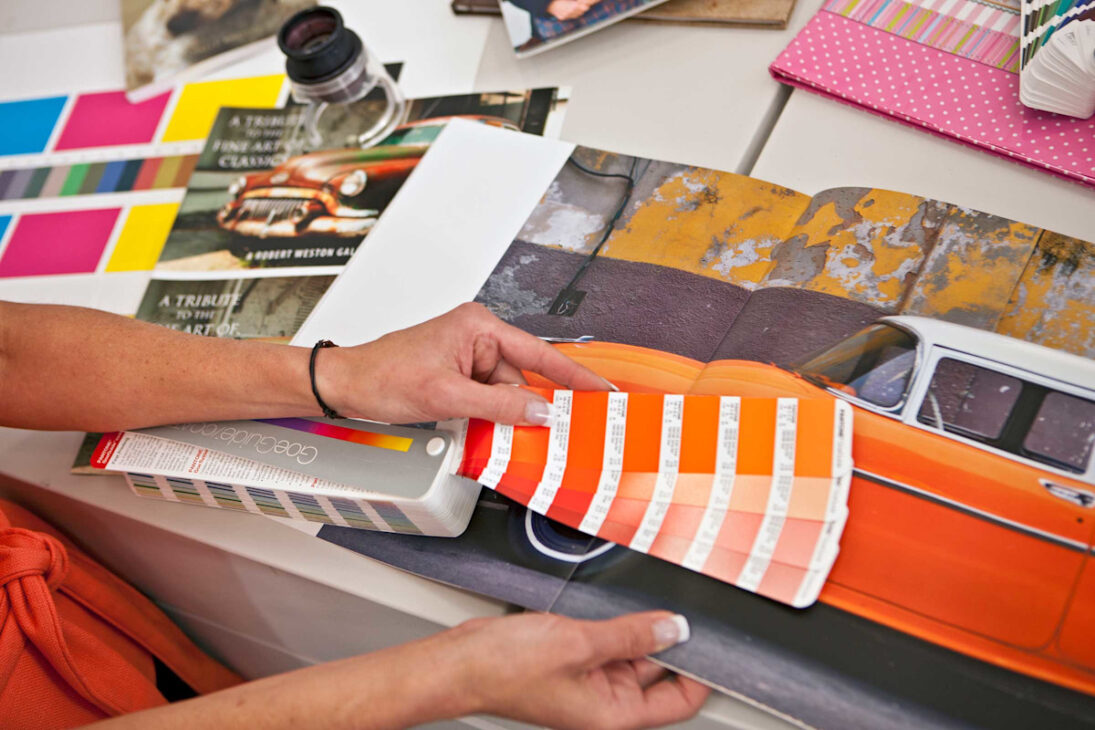
2. Use CMYK-Friendly Colors
Colors in RGB look vibrant on screen but may print dull if not converted to CMYK. Manually choose print-safe colors or use CMYK swatches.
Tip: Soft-proof your colors via View > Proof Setup > Working CMYK to preview how they’ll look in print.
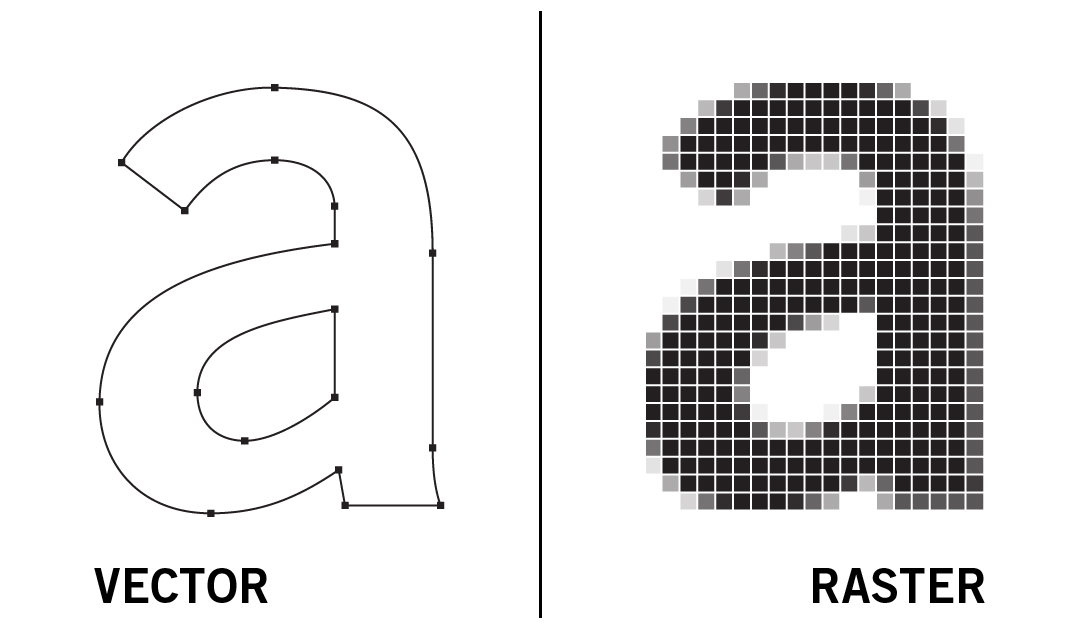
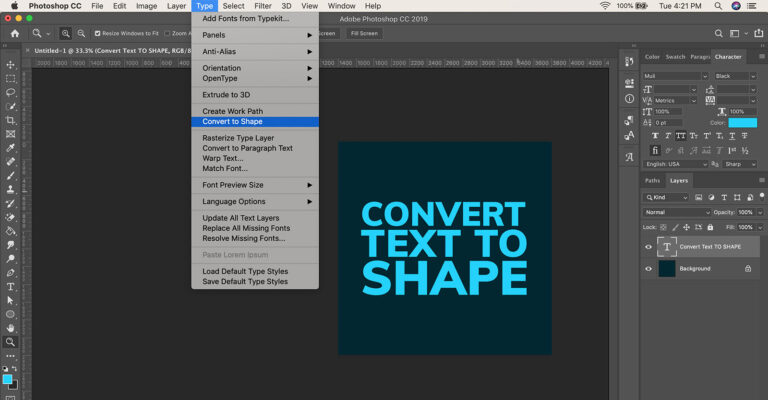
3. Keep Text Sharp With Smart Practices
Text can blur or print poorly if rasterized too early.
Best Practices:
- Keep text as editable layers.
- Use vector-based fonts (not custom raster fonts).
- Convert text to shapes only when finalizing (Right-click > Convert to Shape).
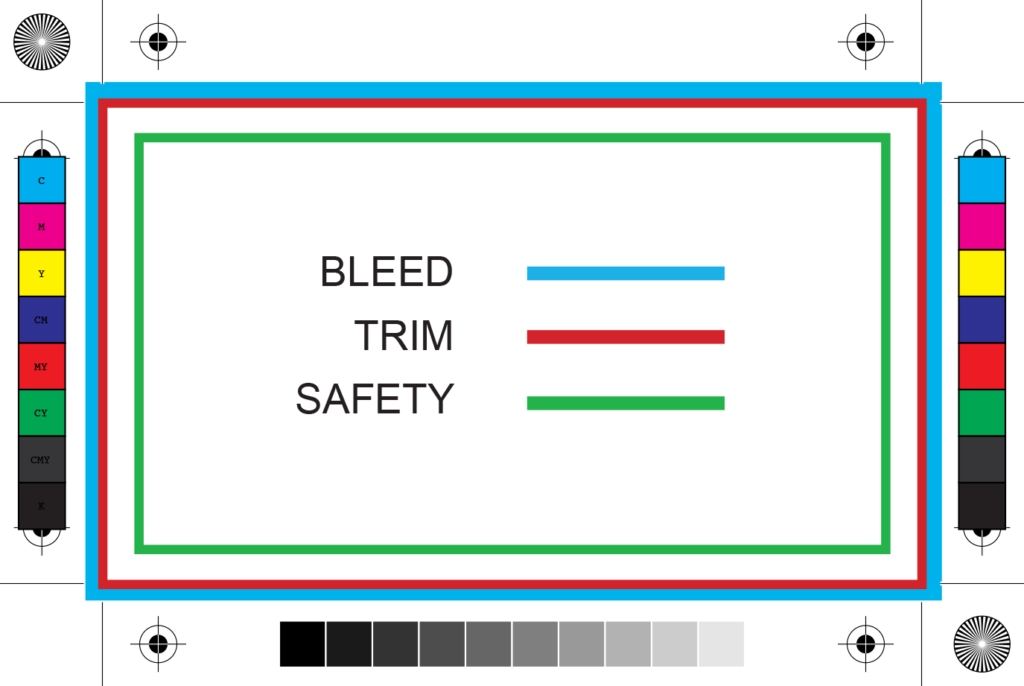
4. Include Bleed and Safe Margins
Printers need bleed to ensure edge-to-edge printing without white borders.
- Bleed: Extend background and design elements 0.125″ beyond the canvas.
- Safe Zone: Keep important content at least 0.125″ inside the trim line.
5. Flatten, Convert, and Organize Your Layers
Complex layer structures can confuse printers.
- Smart Objects: Rasterize only if needed.
- Adjustment Layers: Merge when final.
- Unused Layers: Delete them.
- Linked Files: Embed all assets or use File > Package.

6. Embed or Outline Your Fonts
To avoid font substitution issues:
- Option 1: Embed fonts into the PDF (export option).
- Option 2: Convert text to shapes if you’re 100% done editing.
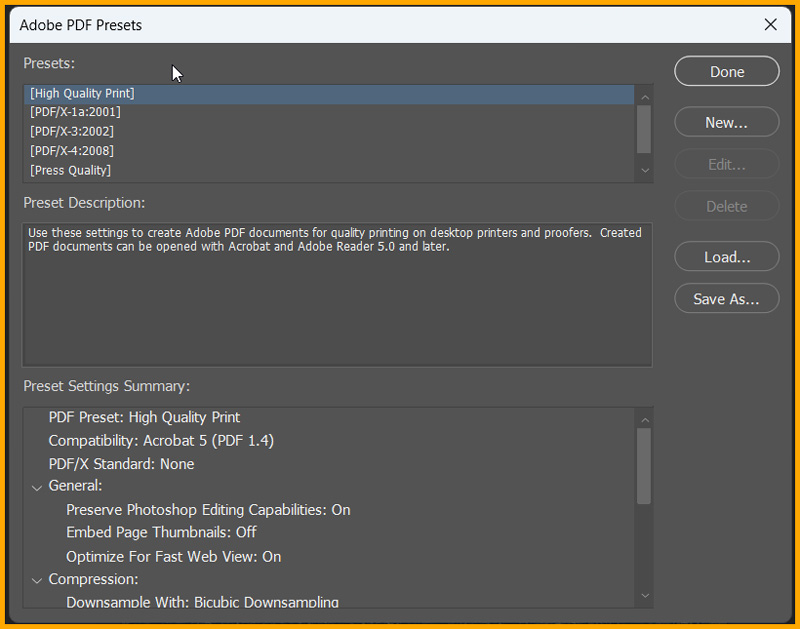
7. Save or Export for Print the Right Way
Your final file format matters.
For most printers:
- Export as PDF/X-1a (ideal for print compatibility)
- Or TIFF with no layers, LZW compression, and embedded color profile
- Avoid JPEG unless requested
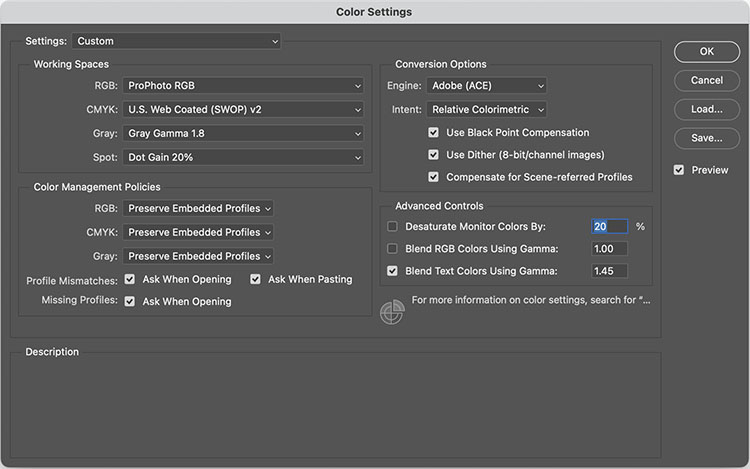
8. Use the Right Color Profile
Always embed your color profile (e.g., U.S. Web Coated SWOP v2) or check with your printer for their preferred profile.
Where to check: Edit > Color Settings or in the Export dialog.
9. Double-Check Everything Before Sending
Use this final checklist:
- Bleed and margins in place?
- CMYK mode?
- Fonts embedded or outlined?
- Resolution 300 DPI?
- Correct file format?
- No missing linked files?

10. Send a Proof or Ask for One
If you’re unsure, ask your printer for a digital proof or test print before doing a full run. It may save you from costly errors.
Final Thoughts
Preparing your Photoshop files for professional printing isn’t just about hitting “Save As.” It’s about taking extra care with settings, color management, and file prep to make sure your design prints exactly how you envision it.
With this guide and a few good habits, you’ll be print-shop ready every time.