How to Extend Background in Photoshop
Understanding the Fundamentals of Extending Backgrounds in Photoshop
Background extension is a technique that allows you to enlarge the background of an image, giving your subject more space and improving the overall composition. This method uses several Photoshop tools to seamlessly expand the canvas.
What is Background Extension?
Background extension is a useful technique to provide more room in an image. It’s like widening the frame to allow more of your vision to be captured.
In Photoshop, tools like content-aware fill and the clone stamp tool are used to blend and stretch the background.
This isn’t just about stretching the image but making the extension look natural. With tools such as the rectangular marquee or lasso tool, you have precise control over which parts of the background you want to extend.
Why Extend Backgrounds in Photoshop?
Extending backgrounds allows for greater flexibility in your images. For example, if you have a photo where the subject is tightly framed, you can use Photoshop to expand the background, giving the image more breathing room without affecting the subject. It also opens up more possibilities for composition.
Adjusting the canvas size gives you different perspectives and alternatives to the original crop. Sometimes, you might want to shift the focus or simply create more space using the crop tool.
In other cases, filling in empty spaces is essential, and this can be done effectively with tools like content-aware fill, which helps in seamlessly adding or removing elements from the image.
How to Extend the Background in Photoshop: Essential Tools and Techniques
To expand the background in Photoshop seamlessly, follow these steps using the crop tool and content-aware features:
- Open Adobe Photoshop and load your original image.
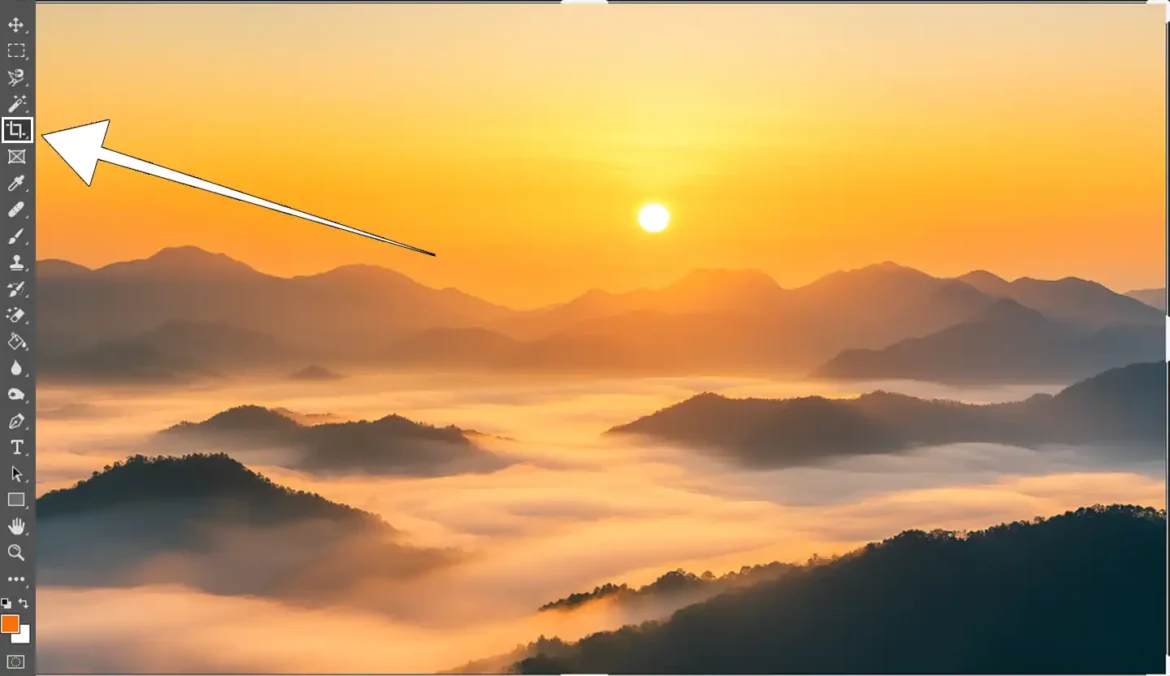
- Select the crop tool from the menu bar, making sure to maintain the image’s proportions.
- Drag the corners of the crop box to enlarge the canvas.
- To ensure smooth results, enable the content-aware feature, which can be found near the crop tool in the left menu bar.
- The content-aware tool will automatically fill in the new areas with matching content.
- If necessary, use the crop tool again to fine-tune any uneven edges.
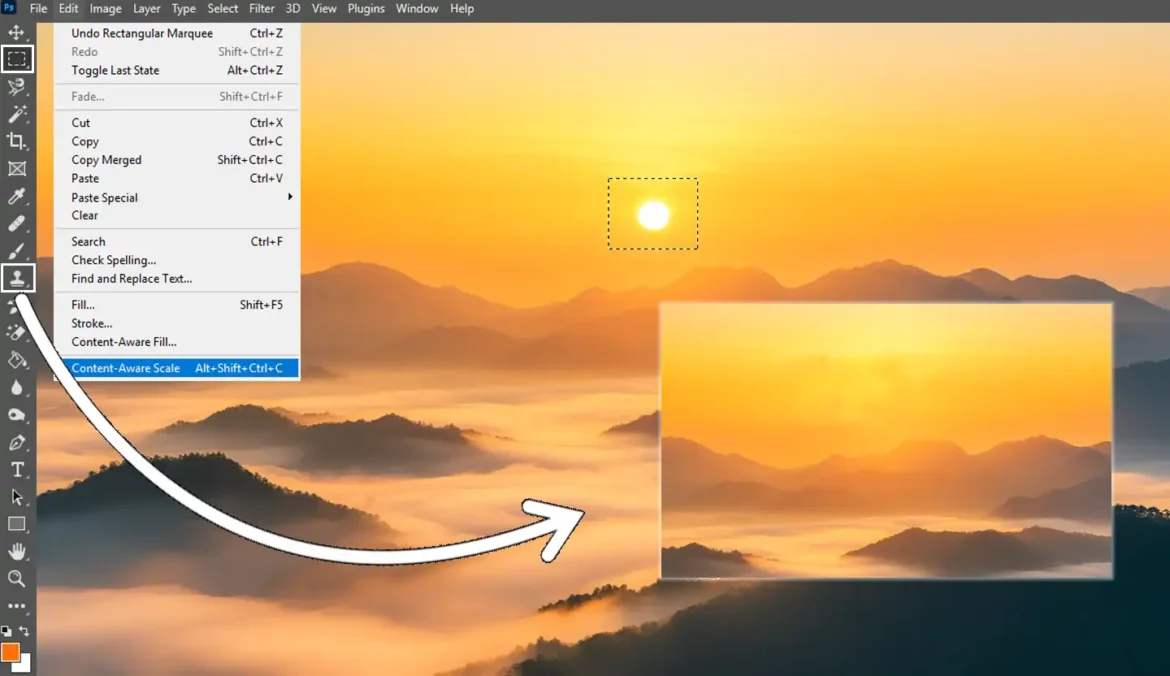
- The content-aware scale tool can be helpful for expanding the image while preserving key details.
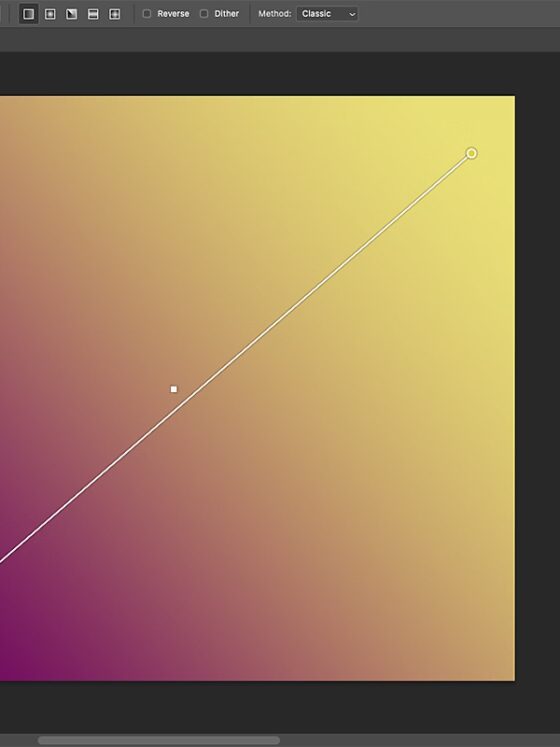
Pro Tip: Experiment with the generative fill feature to add new textures or backgrounds. The content-aware and scale tools work together to provide precise adjustments.
Remember, extending the background in Photoshop allows you to create more space and a harmonious composition. Your photos will feel less constrained when you open up the background.
Practice these steps to master background extension and unlock creative possibilities.
Step-by-Step Guide: How to Extend the Background in Photoshop
In this section, we’ll cover how to effectively use the crop tool to extend the background of your image.
By increasing the space around the subject, this technique helps achieve a more balanced and aesthetically pleasing composition. Let’s walk through the process for a seamless background extension.
Using the Crop Tool
Step 1: Create More Space in Your Image
To start, we need to increase the size of the image canvas. The crop tool is your go-to tool for this task. Found on the left menu bar, it allows you to expand the borders of your image. Select the crop tool and adjust the edges outward in the dialog box to add more space.
Be careful not to crop any important parts of your image! This step is where you determine how much extra background space you want to create.
Step 2: Using Content-Aware Fill
Step 3: Using Content-Aware Fill
Once you’ve expanded the canvas with the crop tool, it’s time to fill in the extra space.
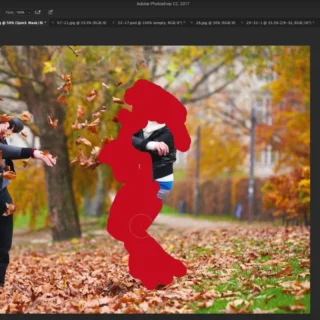
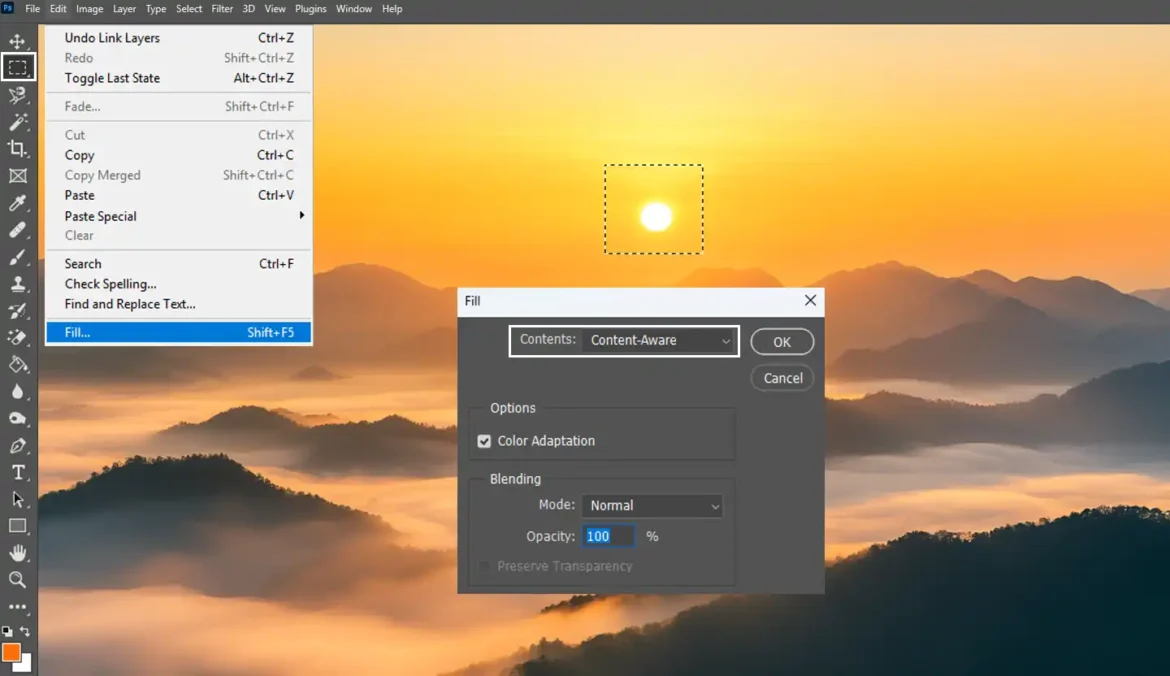
- Use the rectangular marquee tool to select the newly added area.
- In the menu bar, go to Edit and select Fill.
- From the dialog box, choose Content-Aware and click OK.
For those looking to preserve certain elements in the image, the Content-Aware Scale option is perfect. This feature allows you to keep specific areas intact while automatically adjusting the rest of the image to fill the space. It’s a smart way to resize less important parts while keeping critical details untouched.
Once you’re satisfied with the result, save the changes to your background layer. The background will now extend seamlessly, blending perfectly with the rest of your image.
Pro Tip: Don’t forget the clone stamp tool! It’s ideal for small touch-ups and helps ensure everything blends together smoothly.
Additionally, consider using Photoshop’s smart fill feature to add creative elements or new textures to your background. The more you practice, the easier these tools will become.
For more Photoshop tips, take time to explore the contextual options in your workspace. Even small features like the contextual taskbar may have hidden gems to help with your design.
Now you’re ready to create stunning visuals with your newly extended backgrounds in Photoshop!