The Best Photoshop Tools for Beginners and How to Use Them
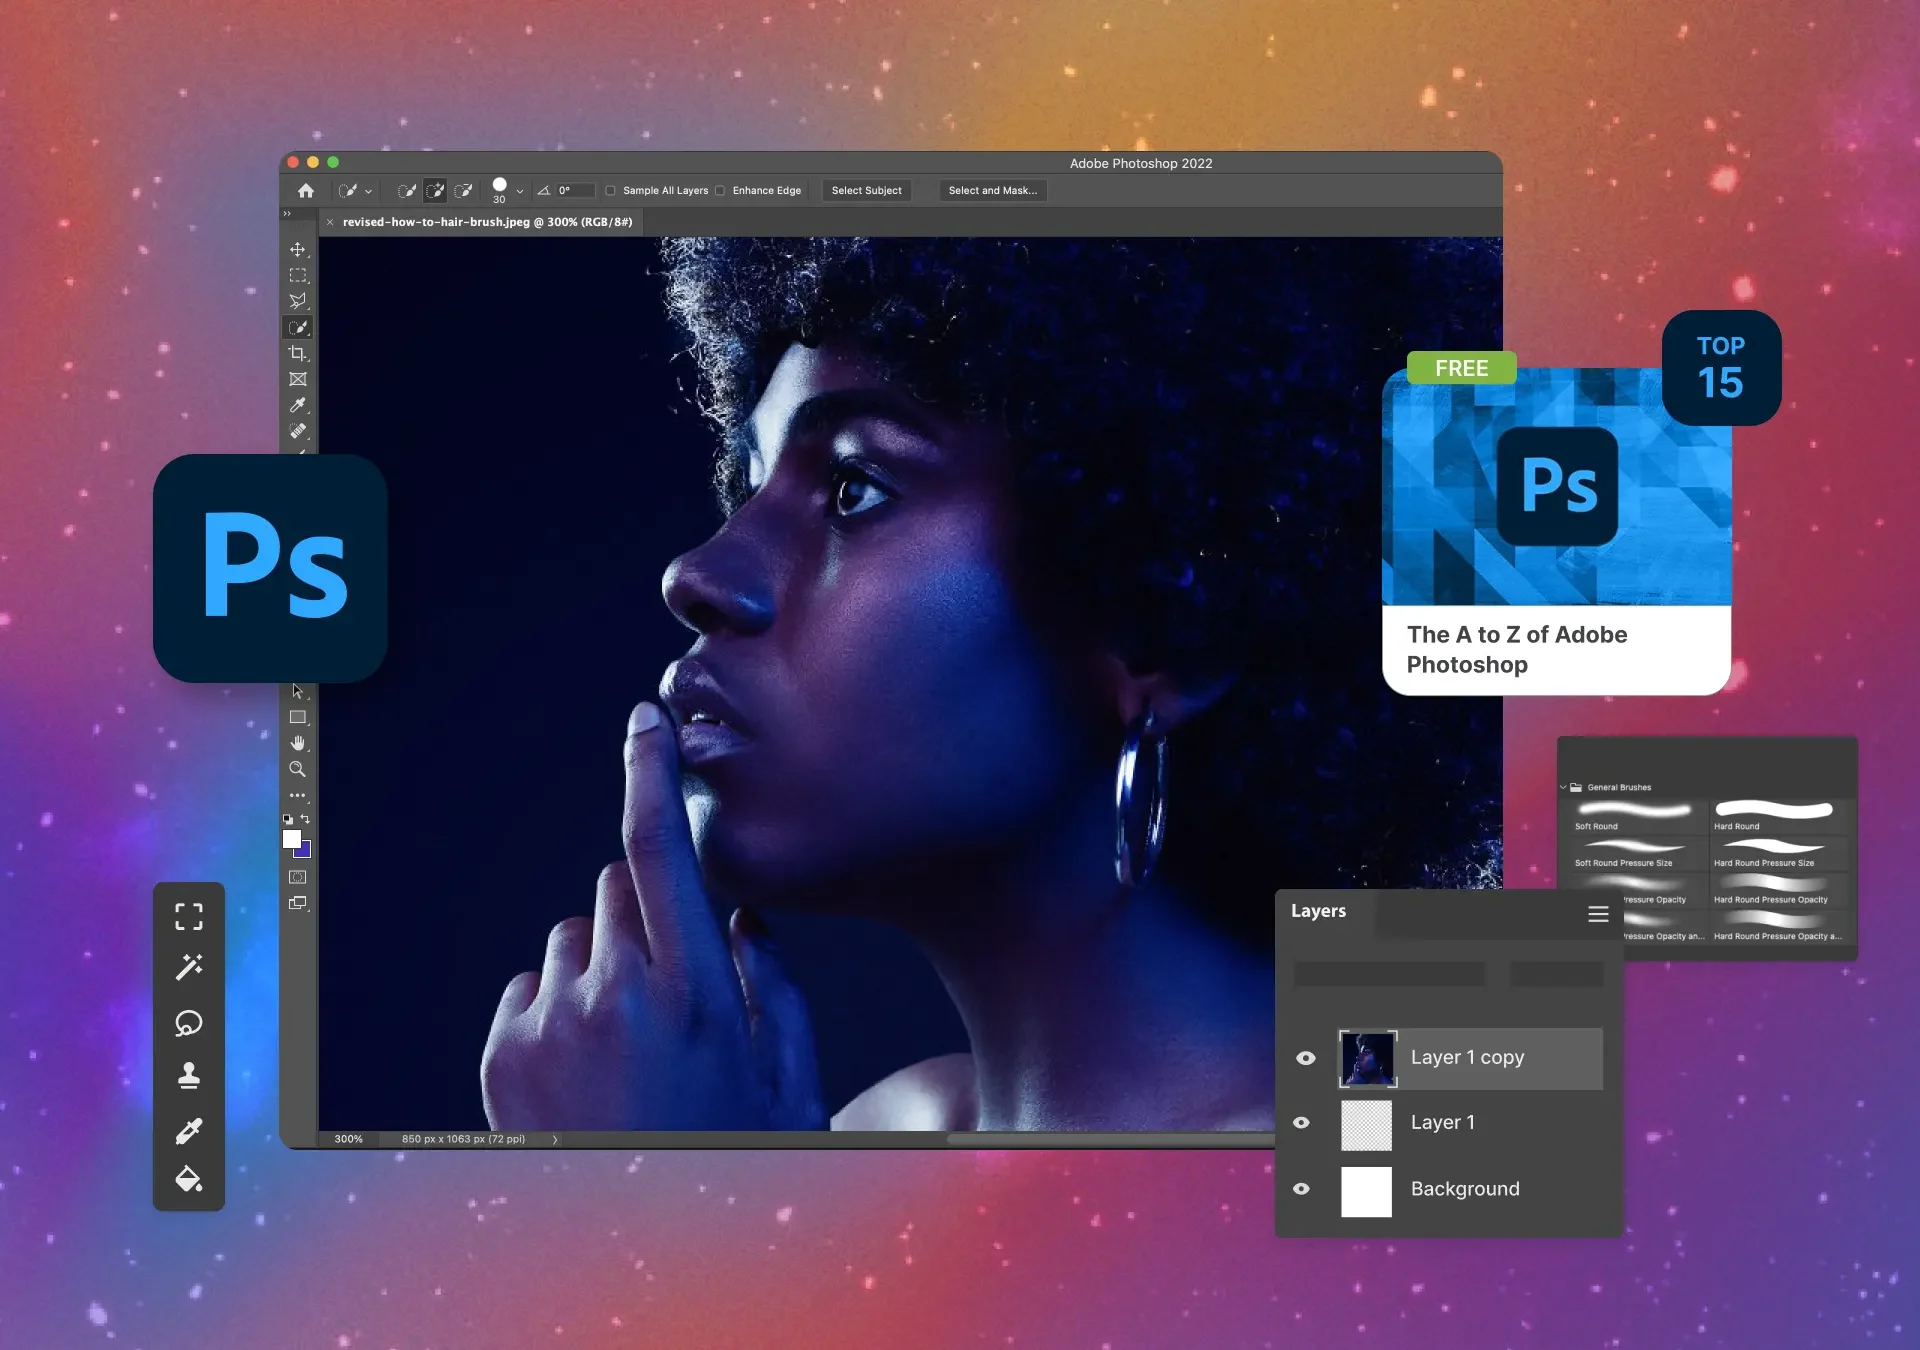
Photoshop can be intimidating for beginners with its vast array of tools and features. But don’t worry! You don’t need to master everything at once. To get started, it’s important to familiarize yourself with the basic tools that form the foundation of the software. These essential tools will allow you to make your first edits, create stunning designs, and get comfortable with the interface.
In this post, we’ll walk you through the best Photoshop tools for beginners and show you how to use them to kickstart your creative journey.
1. Move Tool (V)
What It Is:
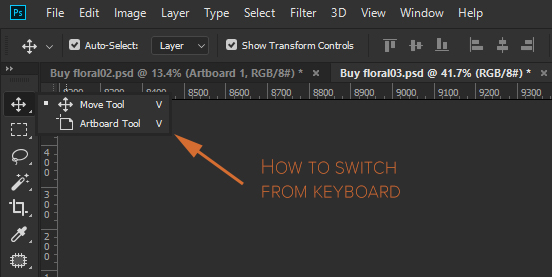
The Move Tool is one of the most frequently used tools in Photoshop, and it’s designed to help you move elements (layers) around in your project. It’s perfect for repositioning text, images, or shapes.
How to Use It:
- Select the Move Tool by pressing V or clicking the topmost tool in the toolbar.
- Click on the object or layer you want to move.
- Drag the object to a new position on the canvas.
Benefit:
The Move Tool makes it easy to manipulate elements in your design or photo, whether you’re rearranging layers or aligning objects.
2. Marquee Tool (M)
What It Is:
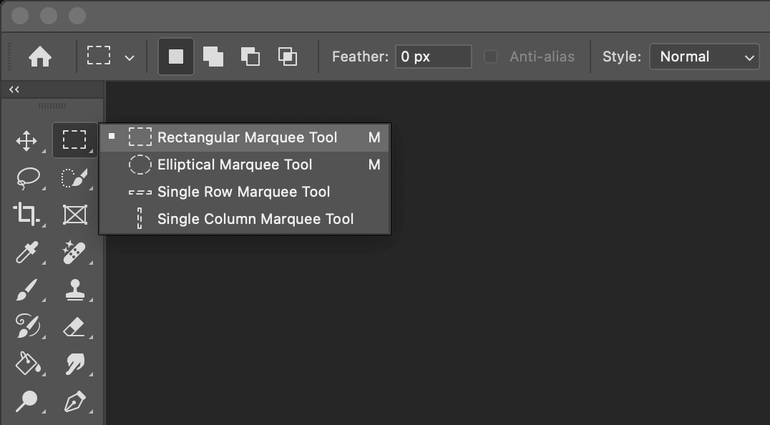
The Marquee Tool is a selection tool that lets you create rectangular, elliptical, or single-row and column selections. It’s helpful when you want to select specific areas of an image for editing, cropping, or applying effects.
How to Use It:
- Select the Marquee Tool by pressing M or clicking the icon in the toolbar.
- Click and drag to create a rectangular or elliptical selection on your canvas.
- You can hold Shift to create a perfect square or circle.
Benefit:
The Marquee Tool is great for selecting specific parts of your image that you want to isolate, edit, or crop. It’s quick and intuitive for beginners.
3. Lasso Tool (L)
What It Is:
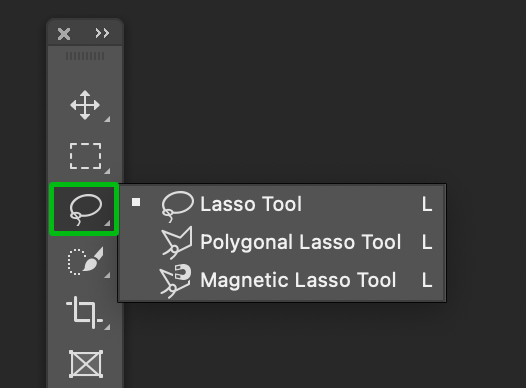
The Lasso Tool allows you to create freeform selections by tracing around an area of the image. It’s ideal when you need to select more irregular or complex shapes.
How to Use It:
- Select the Lasso Tool by pressing L or clicking the icon in the toolbar.
- Click and drag to draw a freehand selection around the area you want to isolate.
- To complete the selection, connect the endpoint to the starting point.
Benefit:
The Lasso Tool is perfect for creating selections around curved or irregularly shaped areas. It’s a great option when you need a precise, custom selection.
4. Brush Tool (B)
What It Is:
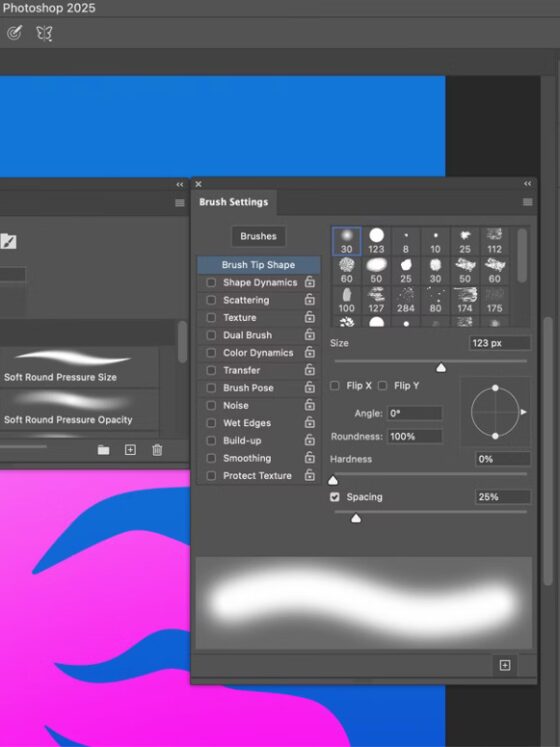
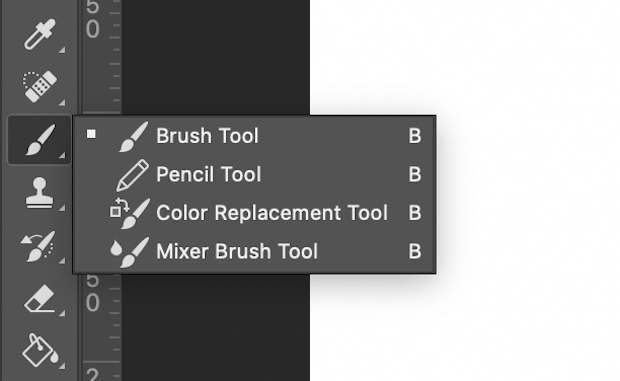
The Brush Tool is one of the most versatile tools in Photoshop. It lets you paint, draw, and add color to your canvas, making it perfect for everything from digital painting to retouching photos.
How to Use It:
- Select the Brush Tool by pressing B or clicking on the brush icon in the toolbar.
- Choose your desired brush size and style from the options at the top.
- Click and drag to paint or draw on your canvas.
Benefit:
The Brush Tool is essential for creative work in Photoshop, allowing you to add details, shading, or color adjustments with full control over size, hardness, and opacity.
5. Text Tool (T)
What It Is:
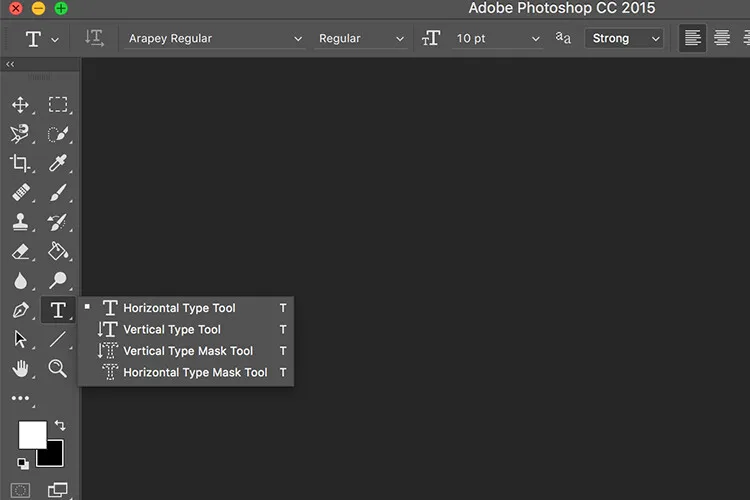
The Text Tool lets you add text to your images or designs. It’s perfect for creating captions, titles, or any other text-based elements in your projects.
How to Use It:
- Select the Text Tool by pressing T or clicking on the “T” icon in the toolbar.
- Click anywhere on your canvas to start typing.
- Highlight the text and use the options bar at the top to change the font, size, color, and style.
Benefit:
The Text Tool is simple but powerful for adding typographic elements to your designs. It’s an essential tool for creating posters, social media graphics, and web designs.
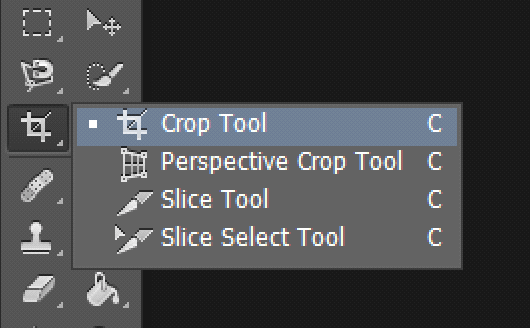
6. Crop Tool (C)
What It Is:
The Crop Tool allows you to trim or adjust the dimensions of an image. It’s useful for focusing on a specific part of an image or changing its aspect ratio.
How to Use It:
- Select the Crop Tool by pressing C or clicking the crop icon in the toolbar.
- Click and drag on the canvas to define the area you want to keep.
- Adjust the crop area by dragging the corners or sides.
- Press Enter or click the checkmark at the top to crop the image.
Benefit:
The Crop Tool is essential for resizing and framing your images, helping you focus on specific areas of your design or photo.
7. Healing Brush Tool (J)

What It Is:
The Healing Brush Tool is perfect for retouching photos. It helps you remove blemishes, spots, or unwanted objects by blending them seamlessly with the surrounding areas.
How to Use It:
- Select the Healing Brush Tool by pressing J or clicking the icon in the toolbar.
- Hold Alt (Option on Mac) and click to sample a clean area near the blemish or unwanted spot.
- Paint over the blemish, and Photoshop will replace it with the sampled pixels.
Benefit:
The Healing Brush Tool is great for quickly removing imperfections from photos, like acne, scratches, or dust spots, without making the image look edited.
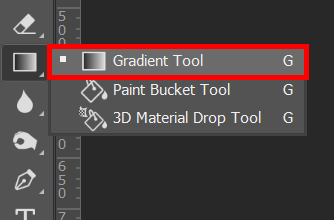
8. Gradient Tool (G)
What It Is:
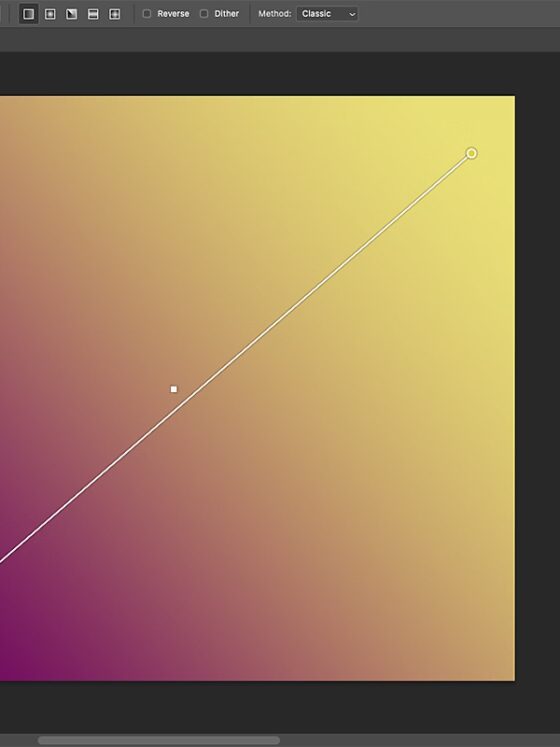
The Gradient Tool allows you to create smooth color transitions (gradients) across your image. It’s often used for backgrounds, color effects, and adding depth to designs.
How to Use It:
- Select the Gradient Tool by pressing G or clicking the gradient icon in the toolbar.
- Choose a gradient preset from the options at the top, or create a custom gradient.
- Click and drag on your canvas to apply the gradient from one point to another.
Benefit:
The Gradient Tool adds smooth color transitions that can enhance your designs or photos. It’s an easy way to create beautiful, dynamic backgrounds or effects.
9. Clone Stamp Tool (S)

What It Is:
The Clone Stamp Tool lets you duplicate parts of your image and paint them over another area. This tool is useful for removing unwanted objects, fixing details, or duplicating elements.
How to Use It:
- Select the Clone Stamp Tool by pressing S or clicking the stamp icon in the toolbar.
- Hold Alt (Option on Mac) and click to sample an area of your image.
- Paint over the area you want to cover or fix, and Photoshop will duplicate the sampled pixels.
Benefit:
The Clone Stamp Tool is great for removing or replacing specific elements in an image. It’s one of the best tools for photo retouching and restoration.
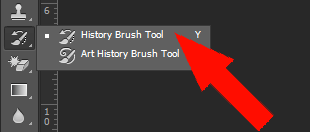
10. History Brush Tool (Y)
What It Is:
The History Brush Tool allows you to paint back specific changes to an image, effectively “undoing” certain edits while leaving others intact. This tool is excellent for applying selective adjustments.
How to Use It:
- Select the History Brush Tool by pressing Y or clicking on the history brush icon in the toolbar.
- In the History Panel, click on the state of the image you want to revert to.
- Paint over the areas you want to restore to that state.
Benefit:
The History Brush Tool helps you selectively undo certain edits while maintaining others, making it incredibly useful for refining your image without completely reversing your work.
Conclusion
Starting with Photoshop can feel overwhelming, but mastering these essential tools will give you a solid foundation to build on. Whether you’re retouching photos, creating designs, or just experimenting with effects, these tools will help you achieve your goals quickly and efficiently. As you continue to practice, you’ll become more comfortable and start to explore even more advanced tools and techniques, but for now, these beginner-friendly options will set you on the right path. Happy editing!

