New Photoshop Beta Adds Video Editing Features
Adobe just surprised everyone. In its latest Photoshop Beta update, the creative giant quietly added a new set of video editing tools—yes, in Photoshop.
While Photoshop has long supported basic timeline functions for GIFs and short clips, this is the first time Adobe is rolling out more serious video editing features inside the app. And naturally, the big question is: is Photoshop about to compete with Premiere Pro?
Let’s take a look at what’s new, what it can (and can’t) do yet, and who these features are really for.
What’s New in Photoshop Beta (April 2025)
Here’s what Photoshop users can now test in the Beta version:
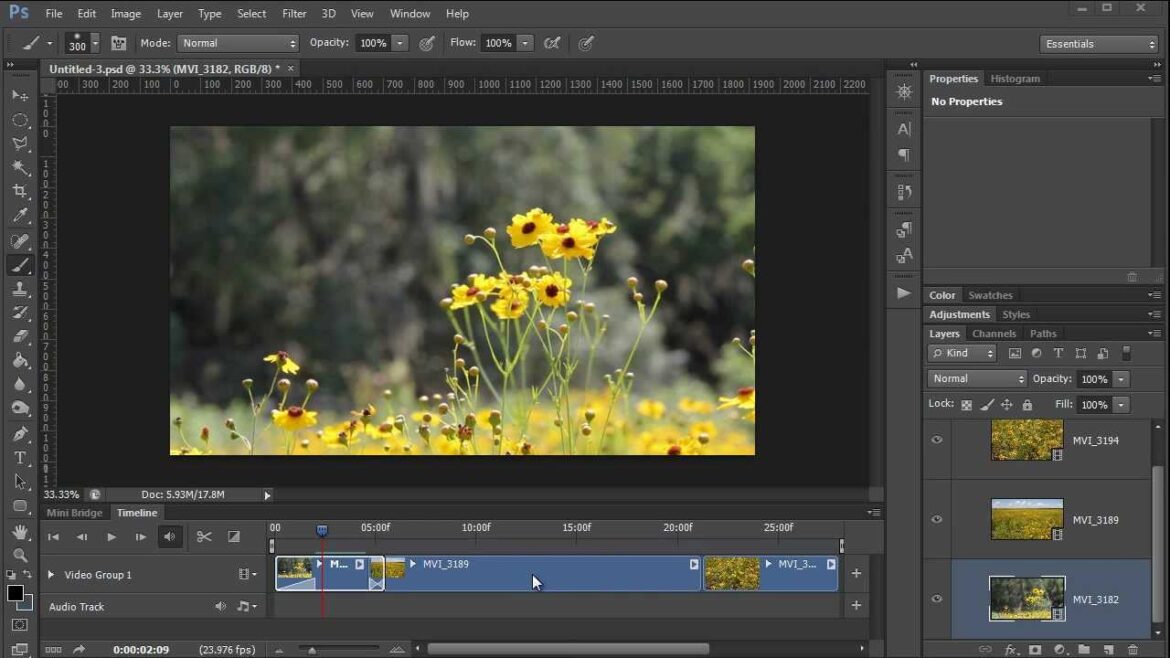
1. Layered Video Editing Timeline
- You can now drop in multiple video layers and trim, split, and move them on a dedicated timeline.
- Frame-accurate cutting and keyframe support for opacity and transformations.
2. Audio Layer Support
- Basic audio syncing is here. Add music or narration and align it with your clips.
- Audio waveforms help with precision.
3. Smart Filters for Video
- Apply standard Photoshop filters (like Gaussian Blur, Color Lookup, or Camera Raw) to individual frames or entire clips.
- Filters are non-destructive and can be adjusted or masked just like static images.

4. Text and Graphic Overlays
- Add animated text, shape layers, and effects on top of your video.
- Use existing layer styles (drop shadows, strokes, glows) for motion graphics effects.
5. Export Enhancements
- Export now includes presets for MP4, MOV, and WebM formats.
- Better compression controls and GPU acceleration are included in the latest beta.
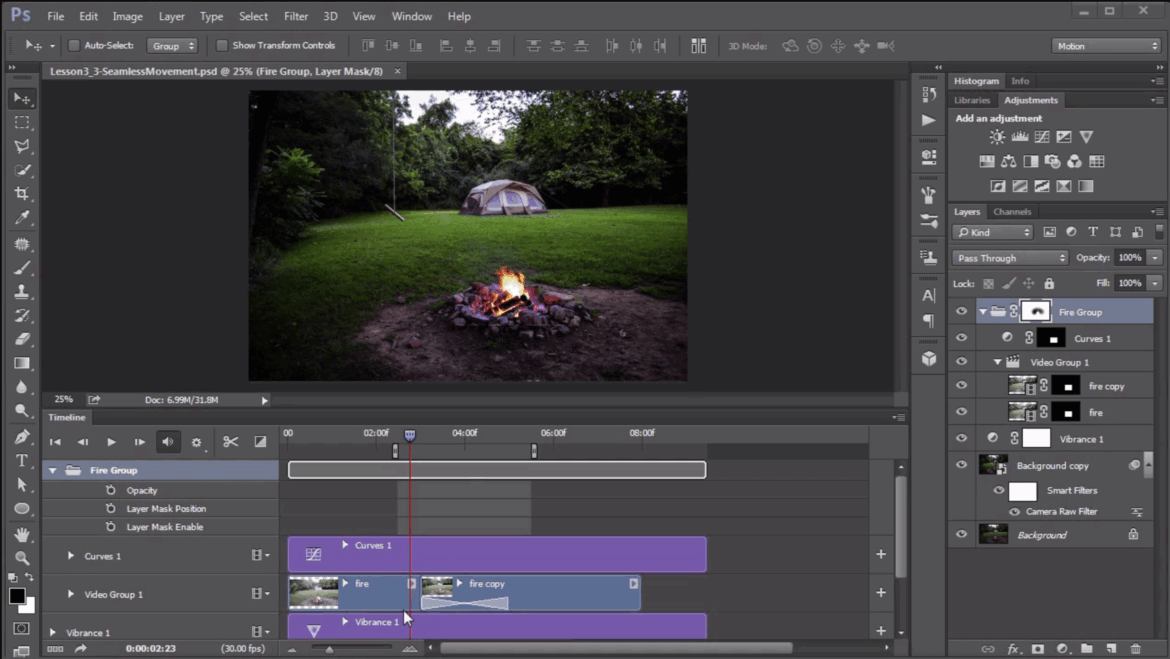
Visual Preview of the New Timeline
| Feature | Available in Beta | Comparable in Premiere Pro |
| Multi-layer timeline | ✅ | ✅ |
| Audio syncing | ✅ | ✅ |
| Advanced effects | ⚠️ Limited | ✅ |
| Color grading tools | ⚠️ Basic LUTs | ✅ Professional suite |
| Keyframe animation | ✅ | ✅ |
| Batch export options | ❌ | ✅ |
Who Is This For?
Photoshop’s new video features aren’t meant to replace Premiere Pro—at least not yet. But they do open doors for a wide group of users:
- Photographers and designers who occasionally need to make quick reels, promo videos, or story-based content without switching apps.
- Social media creators who already use Photoshop for thumbnails or stills and now want to add simple video edits in the same environment.
- Students and hobbyists who find Premiere intimidating and want a lightweight, entry-level editing space.
How to Try Photoshop’s New Video Editing Tools (Beta Walkthrough)
To access the new features, you’ll need to install the Photoshop Beta from the Creative Cloud desktop app. Once installed, here’s how to get started:
Step 1: Open Photoshop Beta
- Launch Photoshop (Beta) from your applications list.
- Make sure your version is up to date (check for updates in the Creative Cloud app).
Step 2: Start a New Project or Import a Video
- Go to File > Open and select a video file (MP4, MOV, or WebM).
- Alternatively, start with File > New, create a blank canvas, and import your video using File > Place Embedded.
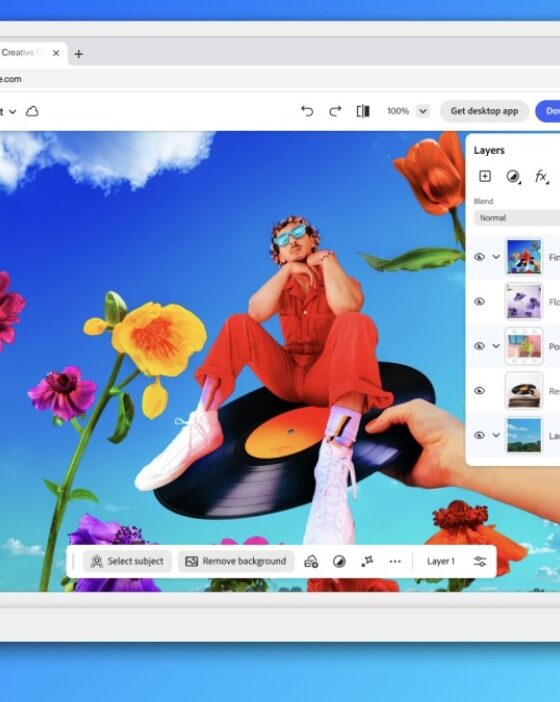
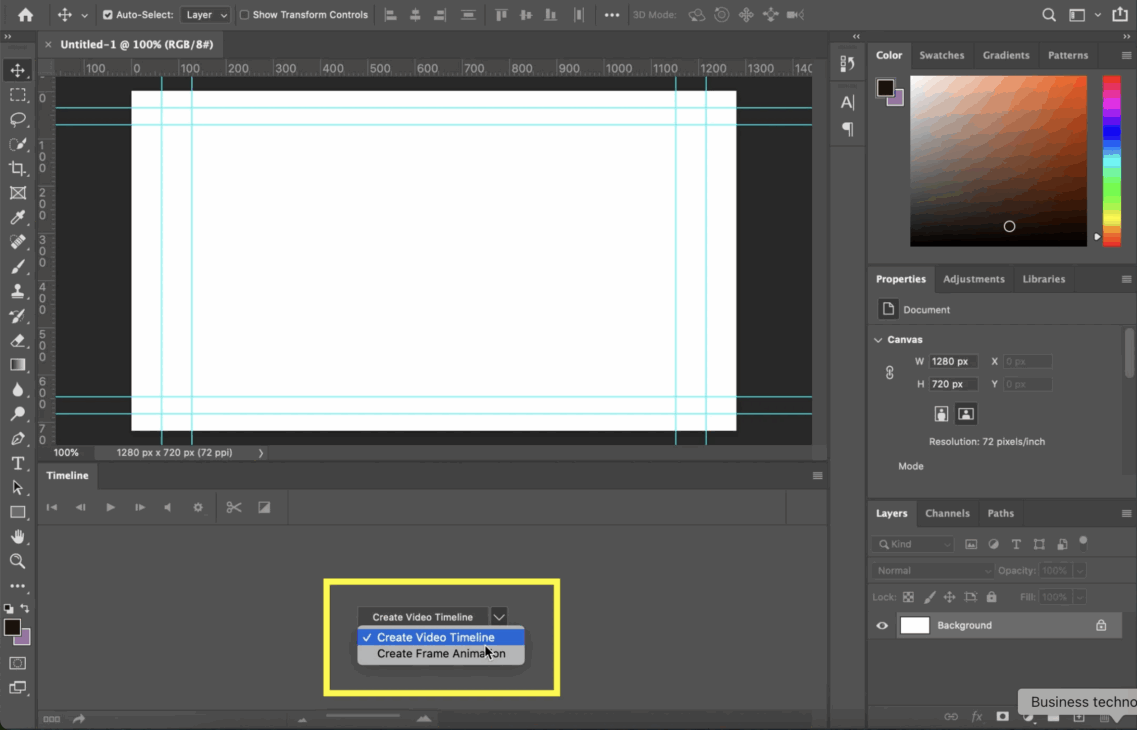
Step 3: Activate the Timeline Panel
- Navigate to Window > Timeline to open the video timeline.
- Click Create Video Timeline to activate the timeline view.
You’ll now see your video file represented as a layer on the timeline.
Step 4: Add More Video or Audio Layers
- Use File > Place Embedded again to add additional videos or audio tracks.
- These layers will stack in the Layers Panel and appear on the timeline below.
Step 5: Trim and Move Clips
- Hover over the ends of your video layer in the timeline to trim.
- Drag the clip left or right to reposition.
- Right-click for split or duplicate options.
Step 6: Apply Filters and Adjustments
- Select your video layer, then go to Filter > (Choose any filter).
- Try using Camera Raw Filter or Color Lookup for quick visual edits.
- Filters are applied as Smart Filters, so you can toggle or modify them later.
Step 7: Add Text and Graphics
- Use the Text Tool (T) to overlay titles, captions, or credits.
- Add shape layers or imported PNGs for logos or decorative elements.
- These layers can be animated or faded in/out using opacity keyframes in the timeline.
Step 8: Export Your Video
- When you’re ready to export, go to File > Export > Render Video.
- Choose a format (MP4, MOV) and resolution settings.
- Click Render to export the final video.
Tips for Smooth Editing in Beta
- Keep projects short (under 5 minutes) for best performance.
- Use GPU acceleration (enable in Preferences > Performance).
- Save your project frequently—this is a beta, after all.
So… Is Photoshop Competing with Premiere?
Not quite—but it’s definitely stepping into the arena.
Photoshop is never going to replace Premiere for professional filmmakers, YouTubers, or editors working with timelines full of multicam footage and audio tracks. But for creators who want to keep things simple, visual, and drag-and-drop friendly, this update is a big deal.
It also shows that Adobe is listening. More and more content is video-driven, and users are asking for tools that don’t require opening an entirely different app just to trim, layer, or export a short clip.
Final Thoughts
The new Photoshop Beta is blending static design and motion in a way we haven’t seen before. It’s not a full-featured video editor yet, but it might be all many users actually need.
And let’s be honest: if you can create stunning images in Photoshop, why not finish your story with a little motion too?
If you haven’t downloaded the Beta yet, it’s worth checking out—especially if you’re already comfortable in the Photoshop environment.