10 Hidden Photoshop Features Every User Should Know About
Photoshop is packed with powerful features, many of which are tucked away in menus or hidden behind shortcuts. Whether you’re a beginner or an experienced designer, these lesser-known features can significantly improve your workflow, save you time, and help you create even better designs. In this post, we’ll uncover 10 hidden Photoshop features that every user should know about to unlock the full potential of the software.
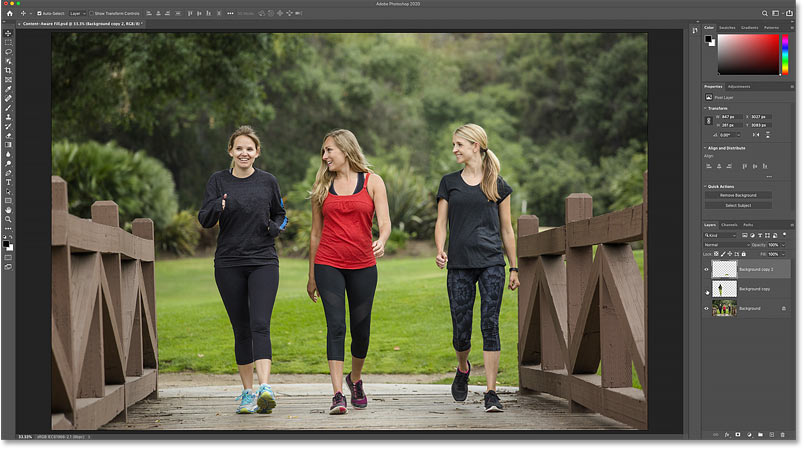
1. Content-Aware Fill (Revolutionizing Object Removal)
What It Is:
The Content-Aware Fill tool is one of Photoshop’s most powerful features, allowing you to seamlessly remove unwanted objects or elements from your image and automatically fill in the background.
How to Use It:
- Select the object you want to remove using any selection tool (Lasso, Marquee, etc.).
- Go to Edit > Fill and select Content-Aware from the dropdown menu.
- Photoshop will intelligently fill the selected area based on the surrounding pixels.
Benefit:
This feature makes it incredibly easy to remove distractions from your images with minimal effort and no manual retouching required.
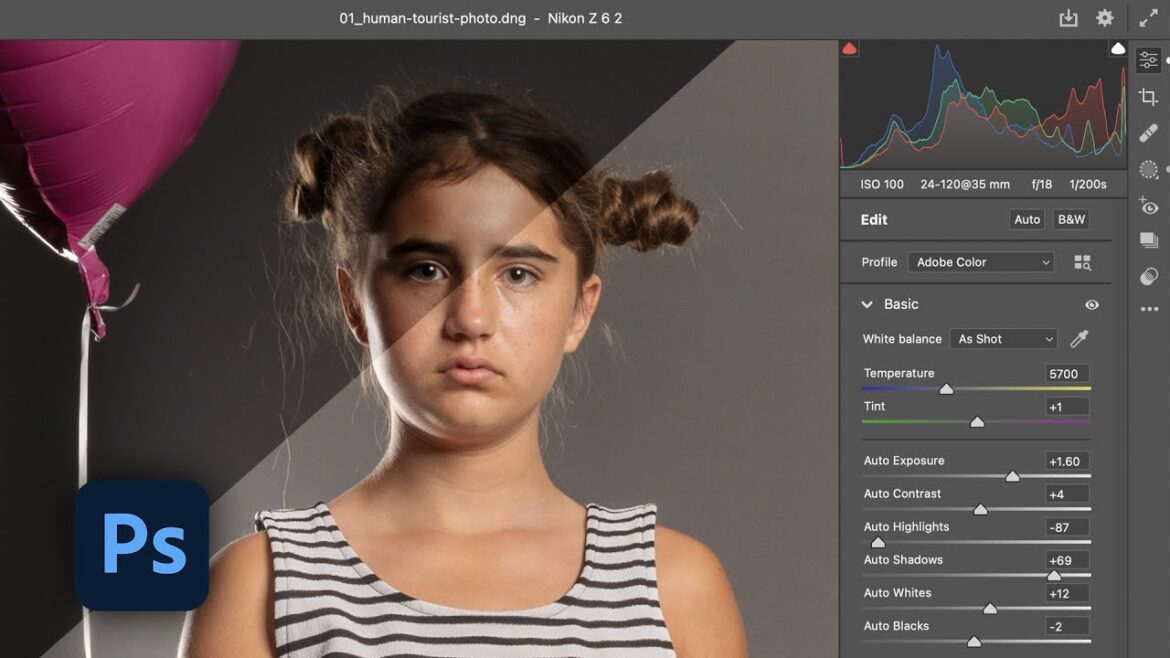
2. Camera Raw Filter (Enhance Your Images Non-Destructively)
What It Is:
The Camera Raw Filter in Photoshop allows you to apply non-destructive adjustments to your image, much like you would in Lightroom. You can adjust exposure, contrast, highlights, shadows, and much more.
How to Use It:
- Select your image layer.
- Go to Filter > Camera Raw Filter.
- Adjust sliders in the Camera Raw window to enhance the image.
Benefit:
This tool is perfect for photographers who want to make precise edits to their images without permanently altering the original file. It gives you more flexibility and control over your edits.
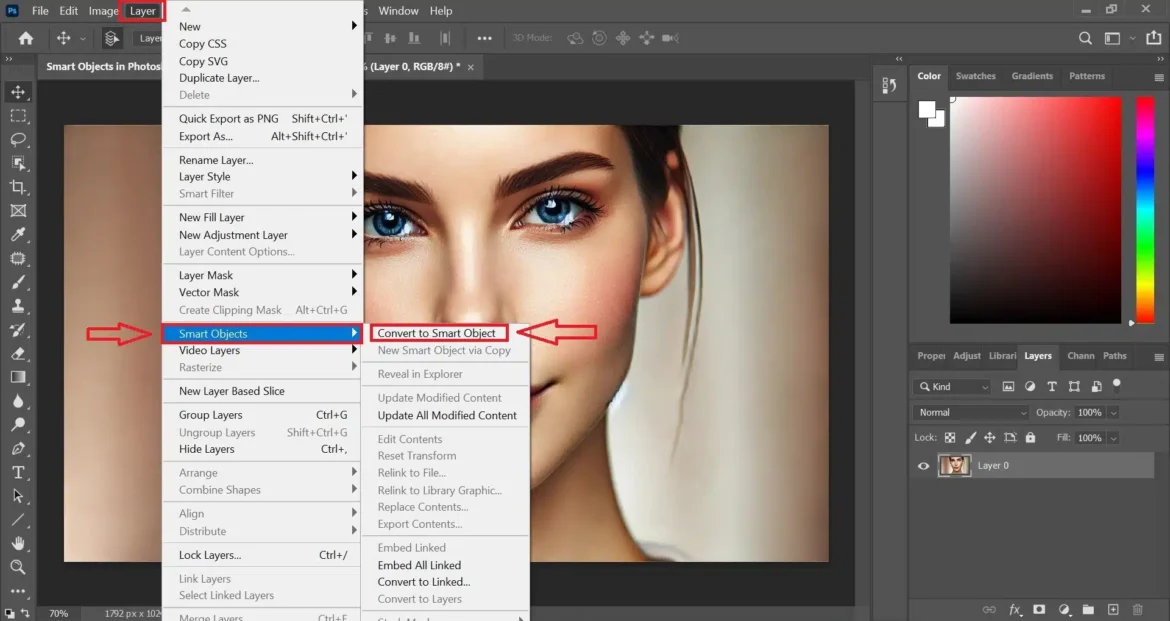
3. Smart Objects (Non-Destructive Editing)
What It Is:
Smart Objects allow you to perform non-destructive edits on layers by preserving the original data and allowing you to revert changes or scale images without losing quality.
How to Use It:
- Right-click on a layer in the Layers panel and choose Convert to Smart Object.
- Apply filters or transformations to the Smart Object.
- To edit, simply double-click the Smart Object thumbnail, make your changes, and save.
Benefit:
Smart Objects give you the freedom to scale images, apply filters, or transform layers without permanently altering the original data, making them ideal for maintaining flexibility throughout your editing process.
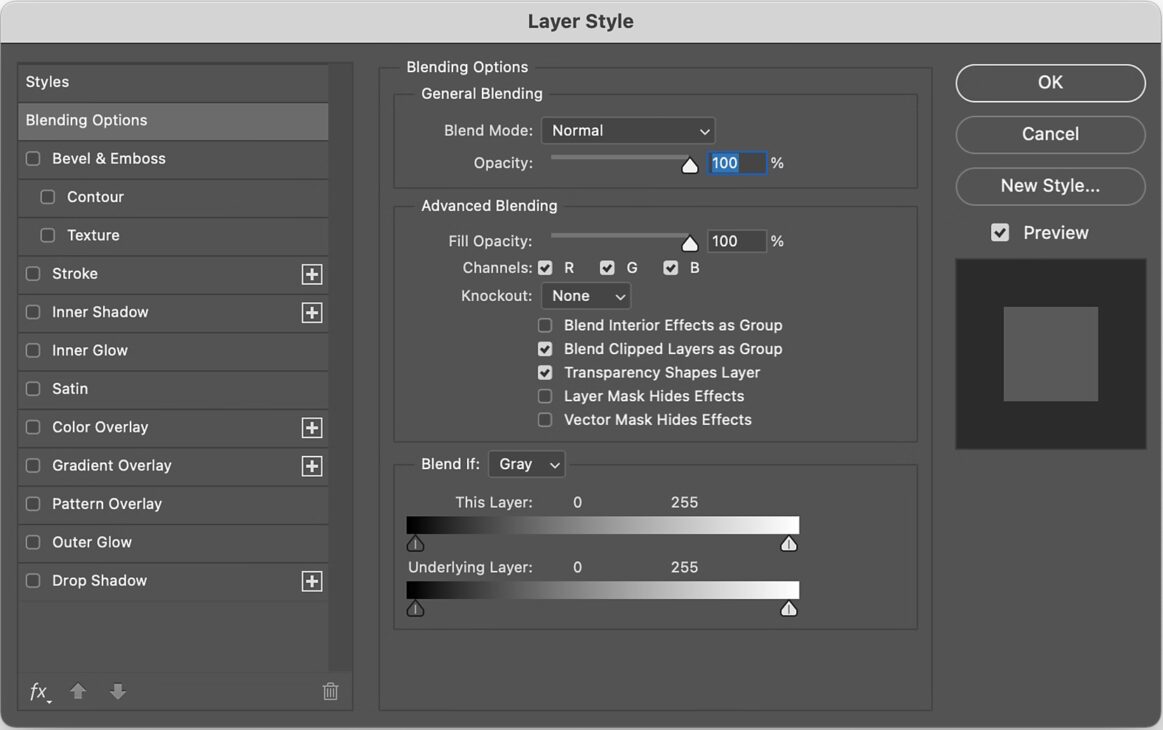
4. Layer Styles (Quick and Easy Effects)
What It Is:
Layer Styles are a collection of effects you can apply to layers in Photoshop, such as Drop Shadows, Glows, Gradients, and more. They are incredibly versatile and can instantly give your design a polished look.
How to Use It:
- Select the layer you want to apply the effect to.
- Click the fx button at the bottom of the Layers panel to bring up the Layer Styles menu.
- Choose from options like Drop Shadow, Bevel & Emboss, or Outer Glow, and adjust the settings to your liking.
Benefit:
Layer Styles allow for quick and easy customizations to your layers, adding professional effects with minimal effort.
5. Snap to Pixel Grid (Perfect for Web Design)
What It Is:
Snap to Pixel Grid ensures that elements in your design align perfectly to the pixel grid, preventing blurry or misaligned edges, especially important for web or app design.
How to Use It:
- Enable Snap by going to View > Snap.
- Go to View > Snap To > Pixel to make sure your objects align to the pixel grid.
- As you move objects around, they will automatically snap to the nearest pixel.
Benefit:
This feature is invaluable for web designers, ensuring that your elements are perfectly aligned and look sharp, even at smaller sizes.
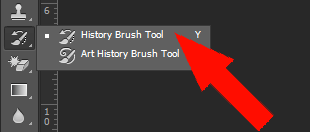
6. Use the History Brush Tool (Restore Specific Edits)
What It Is:
The History Brush Tool allows you to paint back in certain parts of an image to a previous state while keeping the rest of your edits intact.
How to Use It:
- Open the History Panel (Window > History).
- Select a history state where you want to revert to.
- Select the History Brush Tool (press Y).
- Paint over areas where you want to restore to that history state.
Benefit:
This is particularly useful for when you want to keep certain edits (like color adjustments) while undoing others (like retouching or cropping).
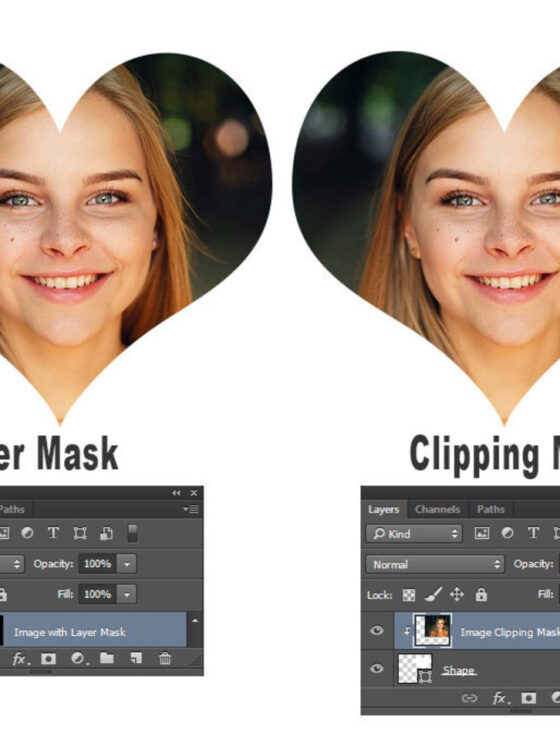
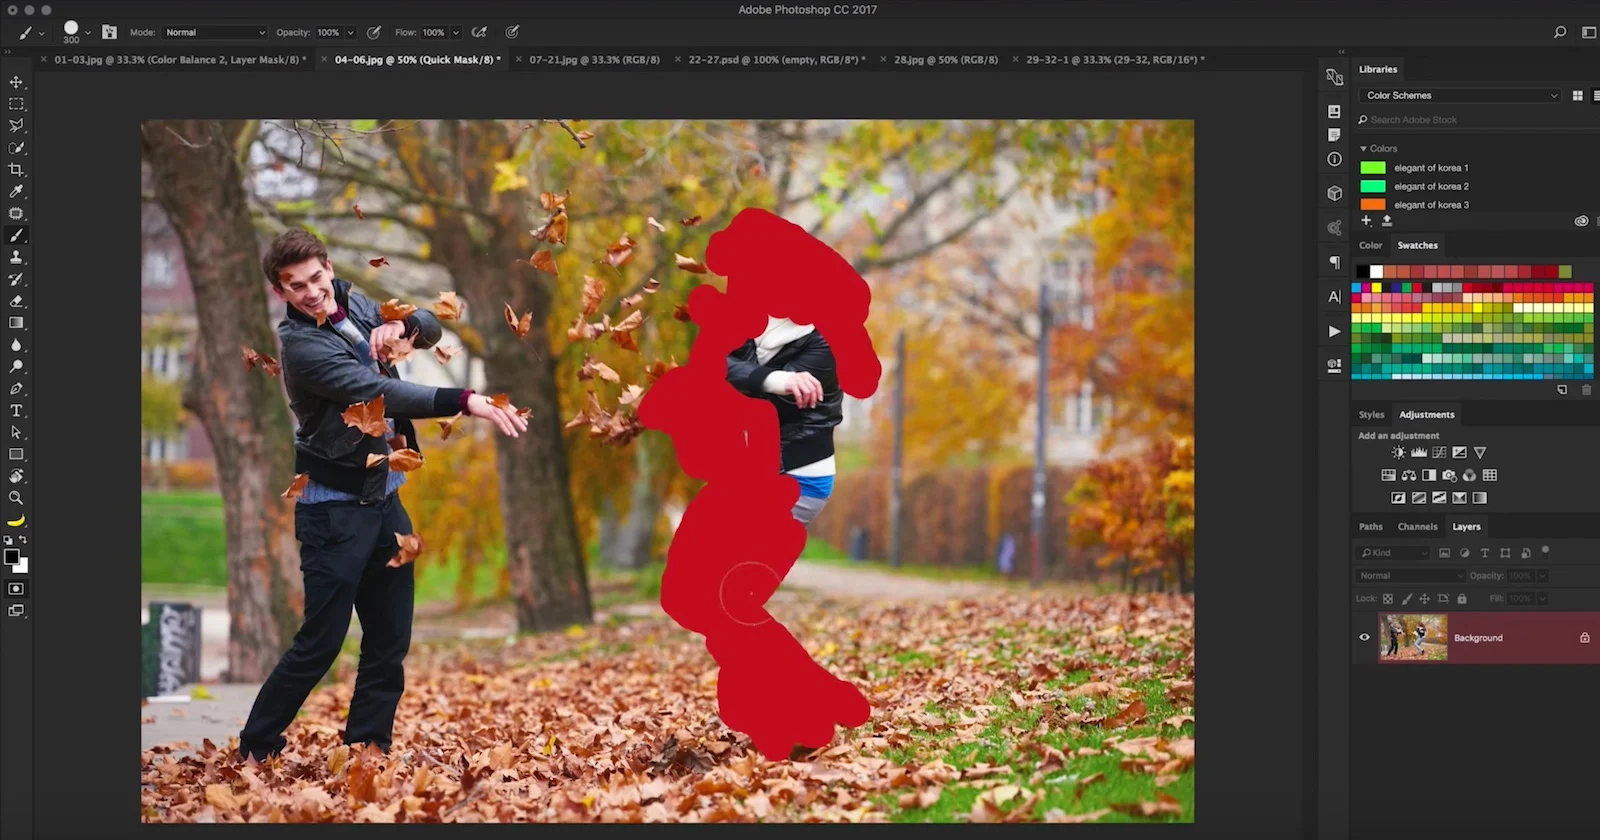
7. Quick Mask Mode (Easy Selections)
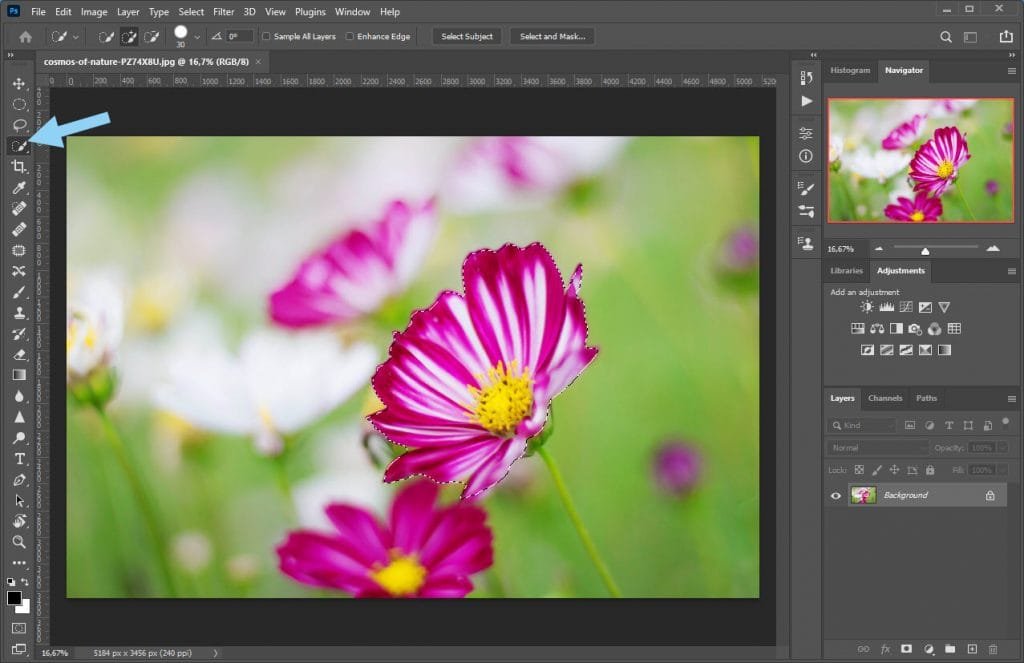
What It Is:
Quick Mask Mode provides an easy and intuitive way to make detailed selections, especially in complex images like hair or intricate details.
How to Use It:
- Press Q to enter Quick Mask Mode.
- Paint over the area you want to select using a brush tool. The area you paint will be highlighted in red.
- Press Q again to return to Standard Selection Mode, where your painted area will now be a selection.
Benefit:
Quick Mask Mode makes it easier to create complex selections quickly, especially for non-rectangular objects or subjects with intricate edges.
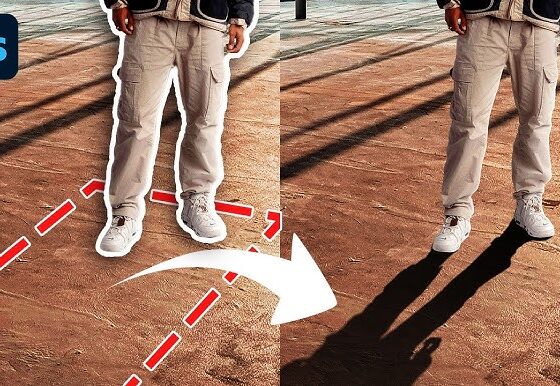
8. Content-Aware Move Tool (Move Objects Seamlessly)
What It Is:
The Content-Aware Move Tool allows you to move objects within an image and automatically fills the space left behind, blending seamlessly with the background.
How to Use It:
- Select the Content-Aware Move Tool from the toolbar.
- Select the object you want to move.
- Drag the object to the new location, and Photoshop will intelligently fill in the gap.
Benefit:
This tool is perfect for repositioning elements in an image without worrying about the background needing to be manually adjusted.
9. Guide Layouts (Perfect for Aligning Elements)

What It Is:
Photoshop has powerful guide layouts that help you align objects with precision, making it especially useful for tasks like graphic design, layout work, or anything requiring symmetrical composition.
How to Use It:
- Go to View > New Guide Layout.
- Adjust the number of rows, columns, and gutter spacing to create the perfect grid layout.
- Snap objects into the grid by enabling View > Snap.
Benefit:
This feature helps you create a clean and organized layout, ensuring perfect alignment of elements, which is essential for graphic designers and web layout tasks.
10. Color Range Tool (Quickly Select Colors in an Image)
What It Is:
The Color Range Tool allows you to select a specific color or range of colors in an image, making it easier to make color-based adjustments or selections.
How to Use It:
- Go to Select > Color Range.
- Click on the color in the image that you want to select, or use the Eyedropper Tool to select additional colors.
- Adjust the Fuzziness slider to increase or decrease the range of colors selected.
Benefit:
This tool is great for making color-based edits or isolating specific color ranges in an image, allowing you to easily adjust hues, saturation, or brightness.
Conclusion
Photoshop is a treasure trove of hidden features and time-saving tricks, and these 10 features are just the tip of the iceberg. By incorporating these lesser-known tools into your workflow, you can speed up your editing process, work more efficiently, and take your designs to the next level. Whether it’s advanced selection tools, non-destructive editing, or powerful object manipulation, these features can significantly enhance your Photoshop skills and make your work stand out. So, give these hidden gems a try and watch your Photoshop workflow improve dramatically!