5 Photoshop Hacks to Perfect Your Portraits in Minutes

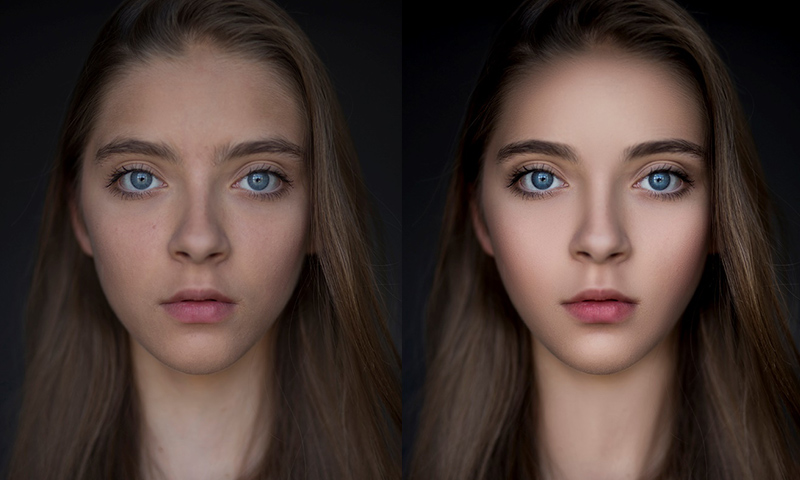
When it comes to portrait editing, Photoshop is an indispensable tool for photographers and digital artists alike. But sometimes, perfecting a portrait can be time-consuming and overwhelming. Luckily, there are a few quick tricks you can use to enhance your portraits in just a matter of minutes. Whether you’re smoothing skin, brightening eyes, or fixing lighting issues, these Photoshop hacks will help you take your portraits to the next level in no time.
1. Smooth Skin with Frequency Separation

Hack:
One of the most time-consuming aspects of portrait editing is achieving smooth, natural-looking skin. The key is to retain skin texture while removing blemishes and imperfections. Frequency Separation is a technique that allows you to separate the skin’s texture from its color and tone, making it easier to retouch each aspect independently.
How to Use It:
- Duplicate your image layer twice.
- Name the top layer Texture and the bottom layer Color.
- On the Color layer, apply a Gaussian Blur to blur the colors and smooth out skin tones (typically around 6-10 pixels depending on resolution).
- On the Texture layer, apply High Pass Filter (found under Filter > Other > High Pass) to highlight the skin texture.
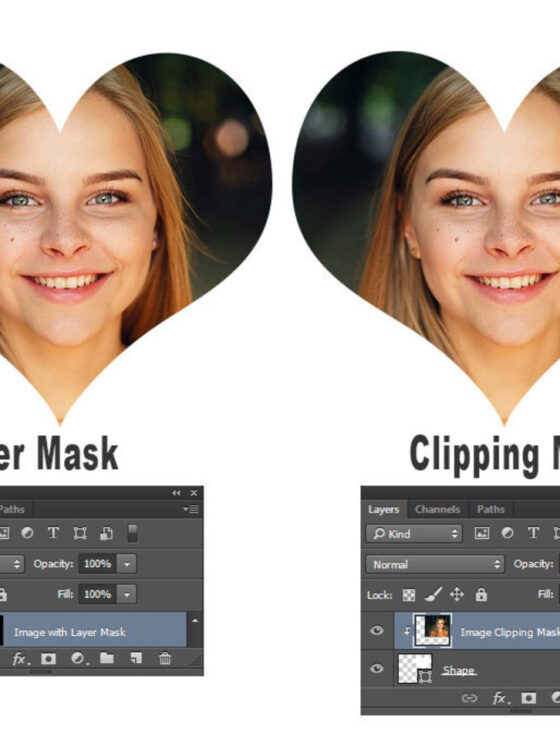
- Use a Layer Mask to paint over the areas where you want to smooth the skin, adjusting the opacity for more control.
Benefit:
Frequency Separation allows you to smooth skin without losing texture, keeping the result looking natural. It’s a quick and effective way to fix imperfections without making the skin look fake or overly airbrushed.
2. Brighten Eyes with the Dodge Tool
Hack:
One of the easiest ways to make a portrait stand out is by brightening and sharpening the eyes. Using the Dodge Tool, you can lighten the whites of the eyes, making them appear more awake and vibrant.
How to Use It:
- Create a new layer and set it to Overlay mode.
- Fill this layer with 50% gray by going to Edit > Fill > 50% Gray.
- Select the Dodge Tool (press O on your keyboard), and set it to a low exposure (around 10-15%).
- Gently paint over the whites of the eyes and any other areas that you want to brighten.
Benefit:
This technique enhances the eyes without making them look unnaturally bright. It gives your portrait a subtle, awake look that draws attention to the subject’s gaze.
3. Fix Uneven Lighting with the Curves Adjustment Layer
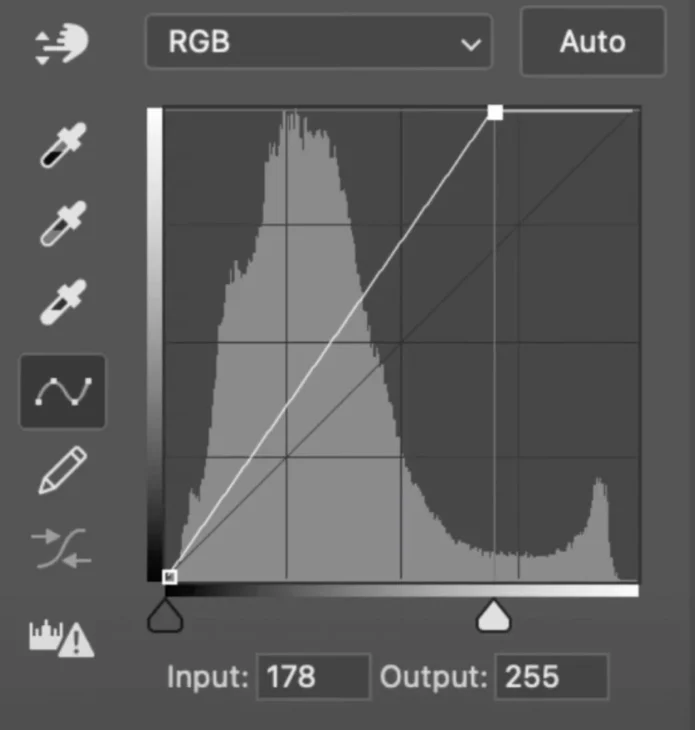
Hack:
Uneven lighting can detract from the overall quality of a portrait. Whether there’s a harsh shadow on one side of the face or the subject looks a little too dark, the Curves Adjustment Layer is a powerful tool to correct lighting issues quickly.
How to Use It:
- Add a Curves Adjustment Layer by going to Layer > New Adjustment Layer > Curves.
- Use the curve to adjust the overall brightness of the image. Click on the curve and drag it up to lighten or down to darken.
- For targeted adjustments, use the Layer Mask to paint over specific areas that need lightening or darkening. You can also add multiple Curves Layers for different tonal ranges.
Benefit:
The Curves tool gives you full control over your image’s exposure and brightness. You can fix underexposed areas, highlight the subject, and correct lighting problems in minutes.
4. Remove Blemishes with the Spot Healing Brush Tool
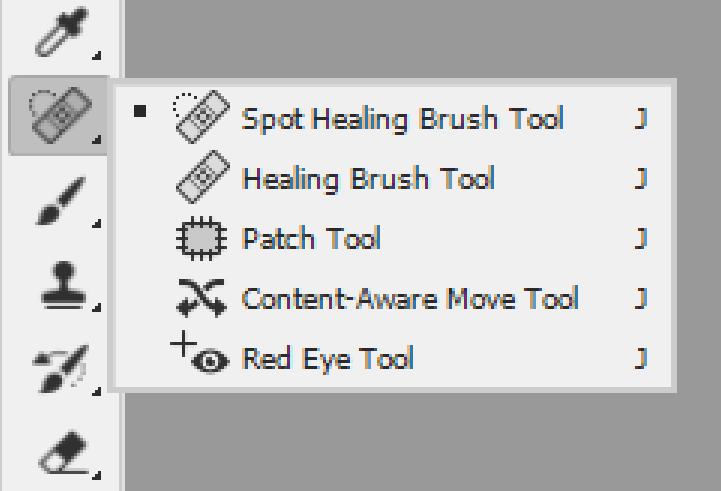
Hack:
Blemishes, acne, and other imperfections are common in portraits. Using the Spot Healing Brush Tool, you can quickly remove these distractions and create a flawless skin appearance.
How to Use It:
- Select the Spot Healing Brush Tool (press J on your keyboard).
- Adjust the size of the brush so it’s slightly larger than the blemish or imperfection you want to remove.
- Simply click over the blemish or drag the brush across the area to remove it. Photoshop will automatically blend the surrounding skin tones to cover the imperfection.
Benefit:
This tool is incredibly fast and efficient, saving you the time it would take to retouch blemishes manually. It works wonders for quick portrait fixes.
5. Add a Soft Vignette to Draw Focus
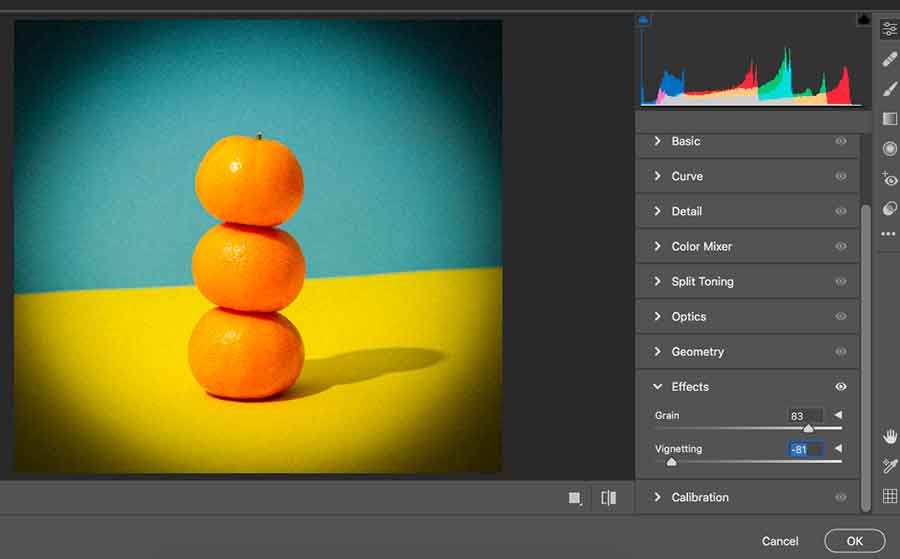
Hack:
Adding a soft vignette around your portrait can help draw focus toward the subject’s face, giving the image a more professional and polished look. The Vignette Effect darkens the edges of the image, making the center stand out.
How to Use It:
- Select Filter > Lens Correction.
- Under the Custom tab, scroll down to the Vignette section.
- Use the Amount slider to darken the edges of the image, and adjust the Midpoint to control how far the effect extends into the center.
- Alternatively, you can create a new Layer, fill it with black, and use a Layer Mask to paint away the center, leaving the vignette effect around the edges.
Benefit:
A vignette subtly guides the viewer’s attention toward the subject’s face, enhancing the overall composition and giving the portrait a more professional, artistic feel.
Conclusion
With these five simple Photoshop hacks, you can elevate your portrait editing skills and make your photos look more polished and professional in just a few minutes. Whether it’s perfecting skin texture, brightening eyes, or correcting lighting issues, these techniques will help you save time and improve your workflow. By incorporating these tricks into your editing process, you’ll be able to create stunning portraits with minimal effort, allowing you to focus on the creative aspects of your work.
Happy editing!