How to Organize Your Photoshop Files for Maximum Efficiency
As a designer, photographer, or digital artist, efficiency is key when working with Photoshop. Whether you’re juggling multiple projects or collaborating with a team, keeping your Photoshop files organized can save you time, reduce stress, and ensure that your creative process runs smoothly. A well-structured file system isn’t just about saving time—it’s also about enhancing productivity and ensuring that you can quickly find what you need, even months down the line.
In this blog post, we’ll walk you through some essential tips and strategies to organize your Photoshop files for maximum efficiency. By the end, you’ll have a system in place that will make your workflow faster, smoother, and more professional.
1. Create a Consistent Folder Structure
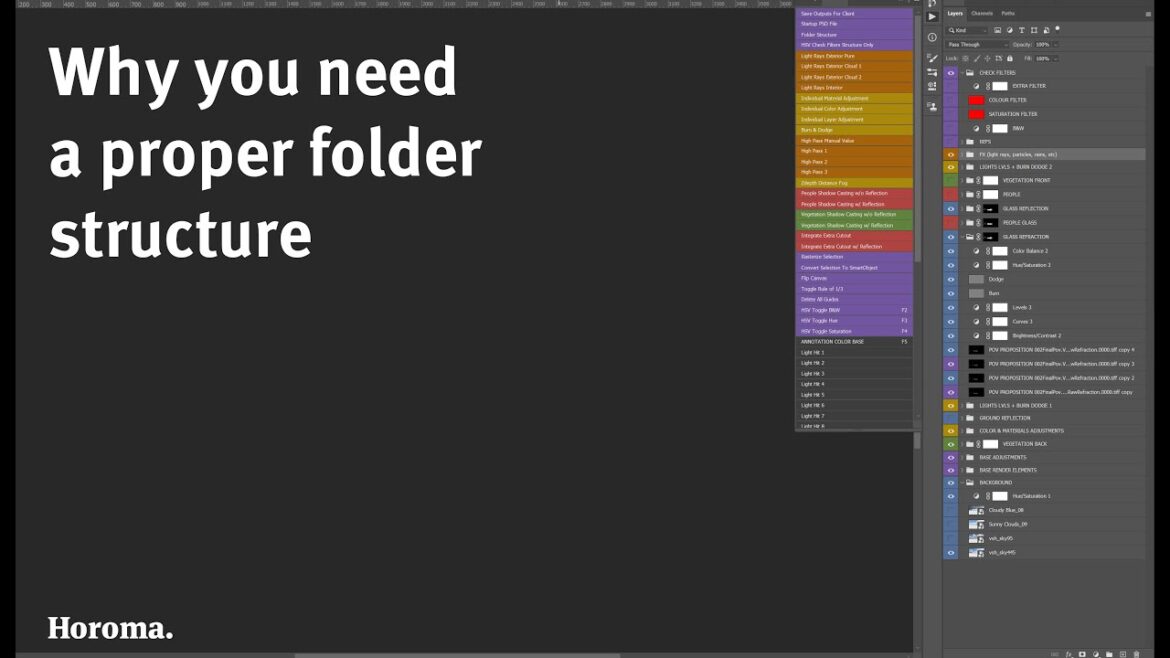
The first step to keeping your Photoshop files organized is setting up a consistent folder structure. This system should be logical, scalable, and easy to navigate. By organizing your folders properly from the beginning, you can ensure that all your assets are easy to find, no matter how large your project gets.
Tip: A good folder structure might look like this:
- Project Folder
- 01_Raw Files (For raw images, videos, or other source materials)
- 02_Working Files (For active Photoshop files)
- 03_Exports (For final output files)
- 04_Assets (For icons, textures, and other resources)
- 05_Supporting Documents (For notes, specs, or contracts)
By separating raw materials, active files, final exports, and additional resources, you can instantly locate what you need without sifting through cluttered folders.
2. Name Your Files Effectively
Naming your Photoshop files may seem like a minor detail, but it has a significant impact on your ability to locate and identify them quickly. A poor naming convention can leave you wasting valuable time searching for the right file, especially when dealing with large projects.
Tip: Use a standardized naming convention that includes the project name, date, and file version. For example:
- ProjectName_Date_v1.psd
- LogoDesign_0315_v2.psd
- BannerAd_0405_v3.psd
This way, you’ll have a clear, systematic naming structure, making it easier to differentiate between versions, updates, and specific assets.
3. Use Layer Groups and Naming in Photoshop
When working inside Photoshop, it’s just as important to stay organized with your layers. Layer management can make or break a project, particularly when you return to a file months later to make updates.
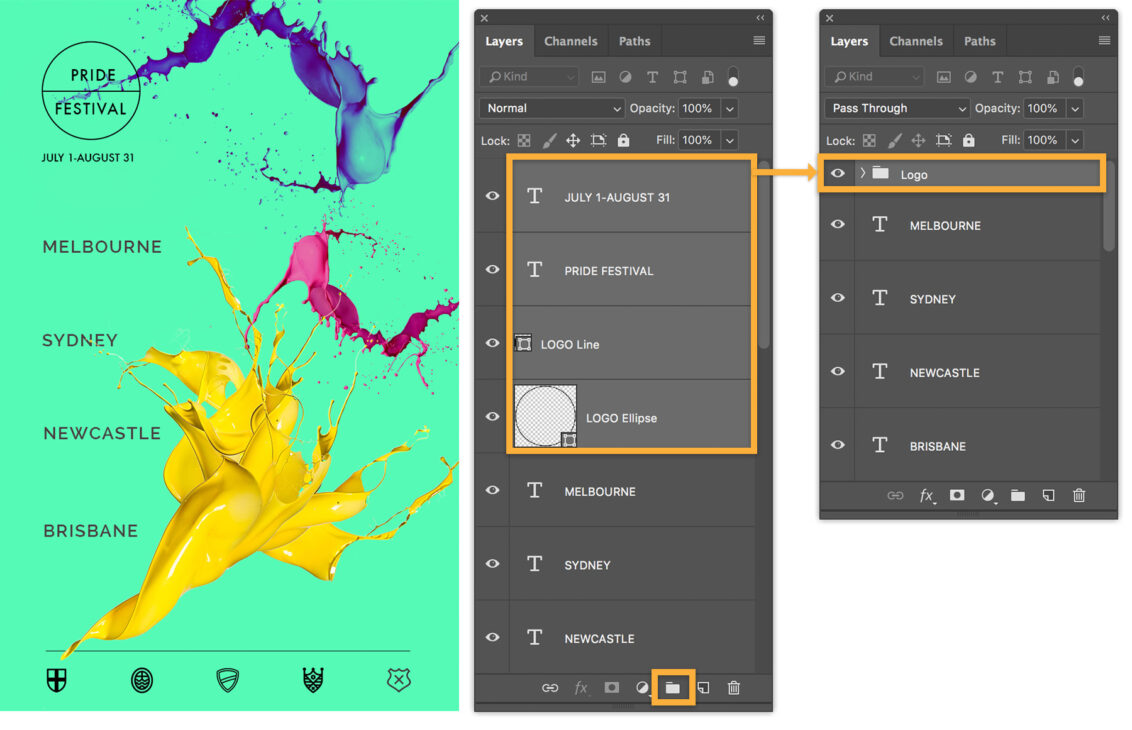
Tip: Use layer groups and proper layer naming to organize your PSD files. Here’s how:
- Create Groups for Different Elements: For example, group all background layers, text layers, and adjustment layers separately. Label the groups clearly—something like “Background,” “Text,” and “Effects.”
- Name Layers Clearly: Instead of generic names like “Layer 1” or “Layer 2,” give each layer a descriptive name. For instance, “Main_Header_Text” or “Gradient_Background.”
- Use Color Labels: Photoshop allows you to color-code layers. Consider using color labels to identify which layers are active, which are locked, or which you’re still working on.
This will make navigating your file and making edits much easier in the long run.
4. Keep Your Photoshop Preferences Optimized
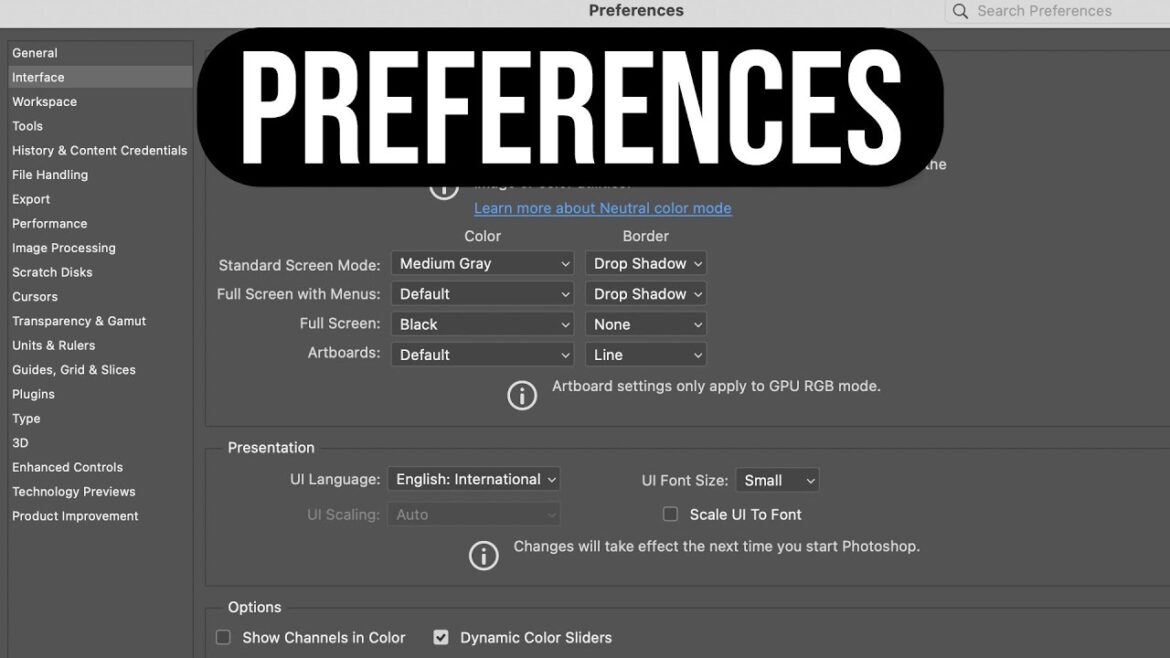
Photoshop’s default settings might not always be optimized for your workflow. To enhance efficiency, take a few moments to adjust your preferences to better fit your needs.
Tip: Consider adjusting the following preferences:
- File Handling: Set Photoshop to automatically save backup versions of your files in case something goes wrong. You can also choose to save a copy of large files in the background, so your work isn’t interrupted.
- Performance Settings: Adjust the memory allocation for Photoshop to ensure that the application runs smoothly on your system, especially when handling large files.
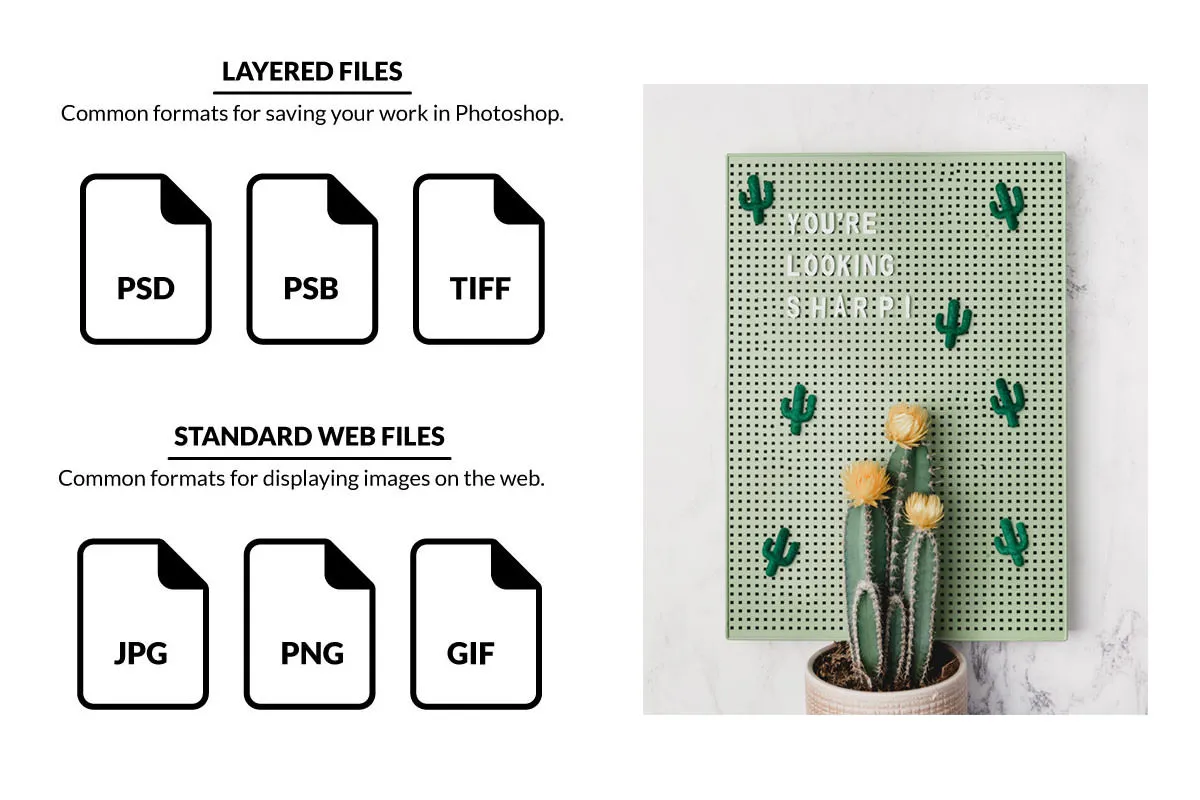
- File Formats: Set the default file format for saving documents (PSD, TIFF, PNG, etc.) to make the process of exporting files faster and more consistent.
Optimizing your preferences ensures Photoshop works efficiently and in alignment with your specific workflow.
5. Use Cloud Storage for Easy Access and Backup
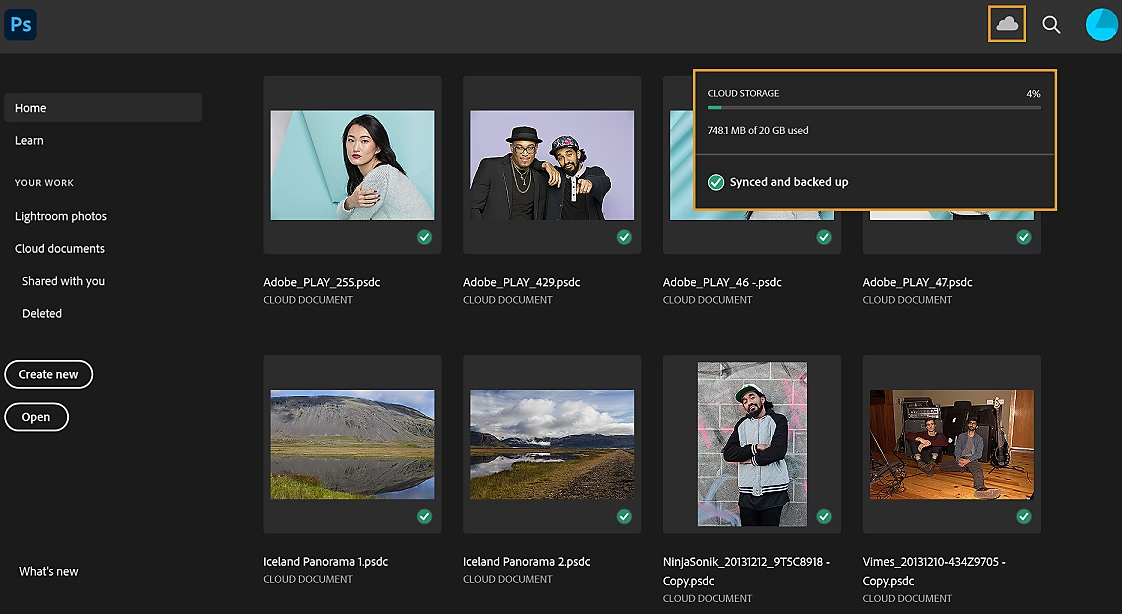
When dealing with large Photoshop files, managing backups becomes critical. Having a backup of your working files in case of a crash or accidental loss is essential. Cloud storage solutions like Google Drive, Dropbox, or Adobe Creative Cloud can help.
Tip: Use cloud storage for storing your working files and backups. Not only will it protect you from data loss, but it also allows for easy collaboration and access from multiple devices. Additionally, syncing your files to the cloud gives you peace of mind, knowing that even if your computer crashes, your work is safe.
6. Organize Your Brushes, Presets, and Plugins

As you work with Photoshop, you’ll likely accumulate a vast collection of custom brushes, patterns, textures, presets, and plugins. While these tools can greatly enhance your creative output, they can easily become disorganized and cluttered over time.
Tip: Create specific folders for these assets and store them in a location where you can easily access them. Within Photoshop, use the Preset Manager to organize your brushes, swatches, and patterns, ensuring they’re all labeled and grouped for convenience.
- Create Subfolders: For instance, separate brushes by style (e.g., grunge, floral, texturing).
- Document Your Tools: If you’re using multiple plugins or presets, document their use, so you remember which ones work best for specific projects.
This will streamline your design process and help you maintain a consistent, professional output.
7. Save Templates for Future Use
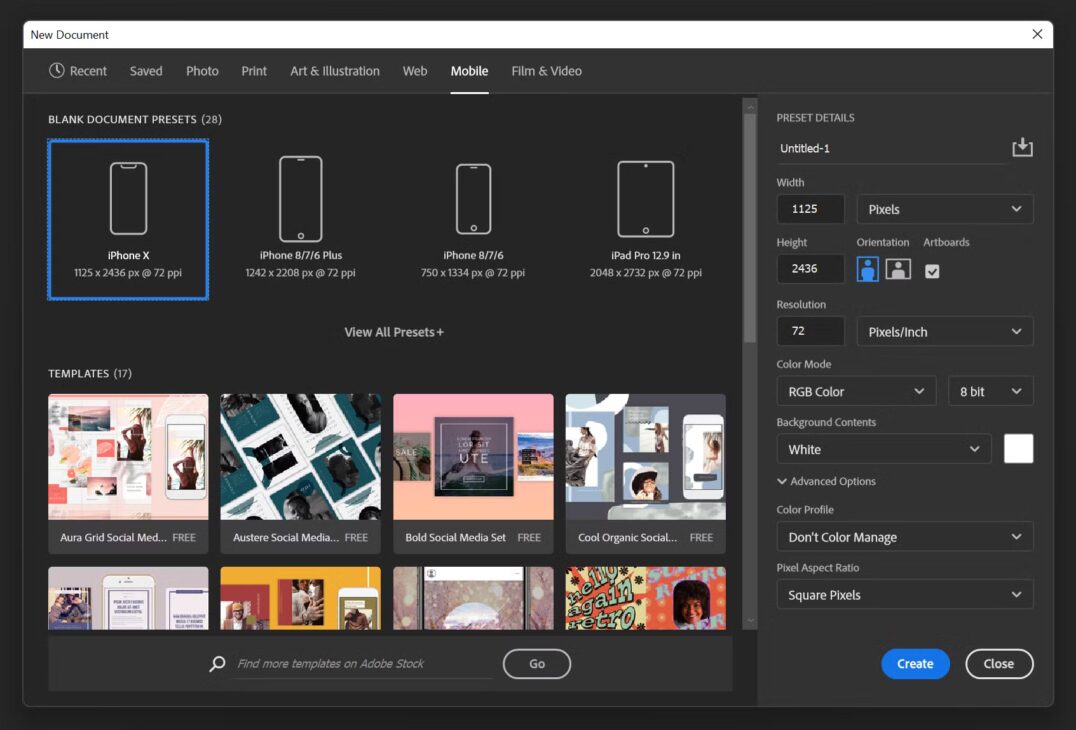
If you find yourself working on recurring designs (e.g., social media graphics, banners, or business cards), save your PSDs as templates. These templates should contain basic structures, fonts, and elements you frequently use. This will save you the effort of recreating common elements from scratch every time.
Tip: Organize your templates in a separate folder labeled Templates. Inside, you could have subfolders for each type of design (e.g., Social Media, Print, Web).
8. Archive Completed Projects
Once a project is complete, it’s time to archive it. Rather than keeping all files in an active workspace, move them to an archived folder to free up space and reduce clutter.
Tip: Create an “Archive” folder within your project’s parent folder. Include all final files, raw materials, and relevant documents. If the project is no longer active, compress the entire folder into a zip file to reduce file size and preserve everything in one place.
Archiving completed projects ensures your active workspace remains clutter-free and ready for the next big project.
9. Use Photoshop’s Auto-Save Feature
If you’re not already utilizing Photoshop’s Auto-Save feature, now is the time to start. Auto-Save can be a lifesaver, especially when working on large files or during long creative sessions.
Tip: Turn on the Auto-Save feature under Preferences > File Handling. You can set Photoshop to save your file at regular intervals, reducing the risk of losing work if the program crashes unexpectedly.
Conclusion: Stay Organized, Stay Creative
Efficient file management in Photoshop isn’t just about tidiness; it’s about setting up a system that supports your creative flow. From organizing your layers and file names to backing up your projects in the cloud, each step adds up to a more efficient and professional workflow. The time you invest in organizing your Photoshop files will pay off by reducing the stress of searching for files and letting you focus on what you do best—creating.
Start implementing these organizational strategies today, and you’ll notice an immediate difference in your productivity and creative output. A well-organized workspace allows you to move faster, collaborate better, and be more confident in your work, all while enhancing your overall efficiency in Photoshop.